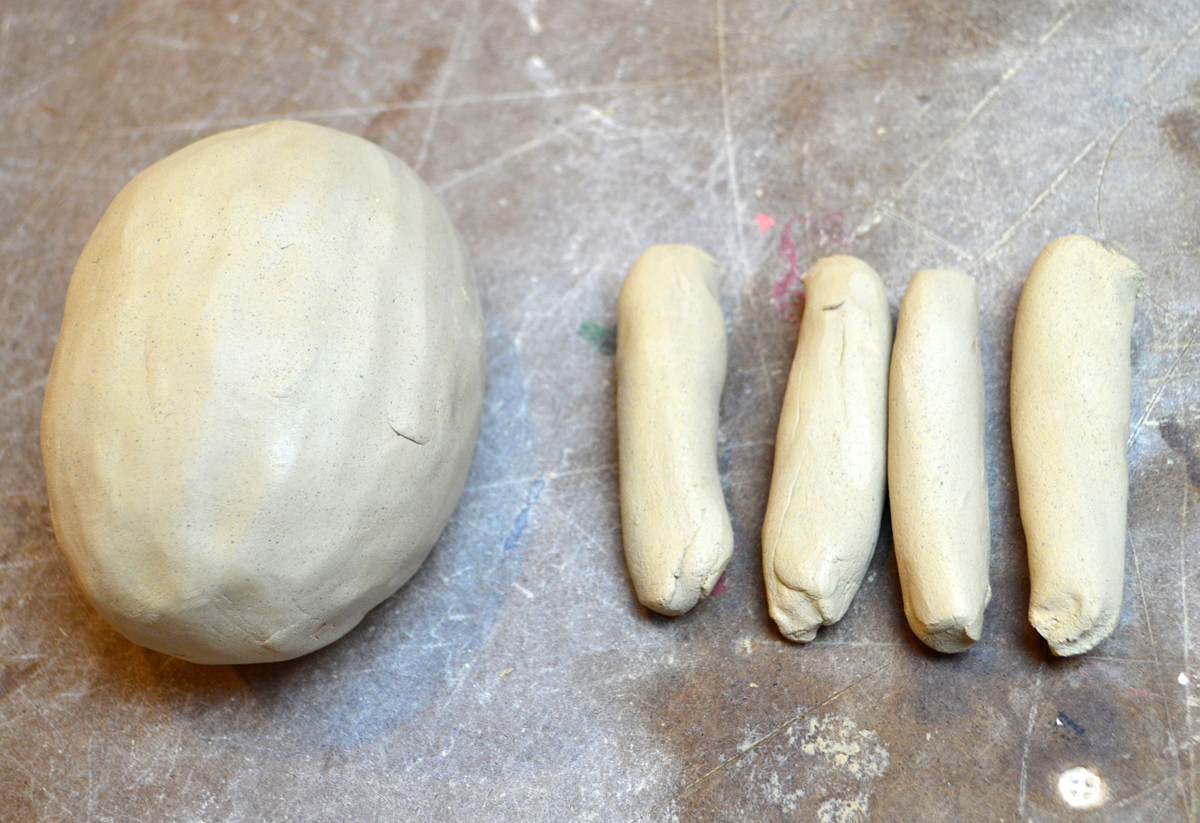
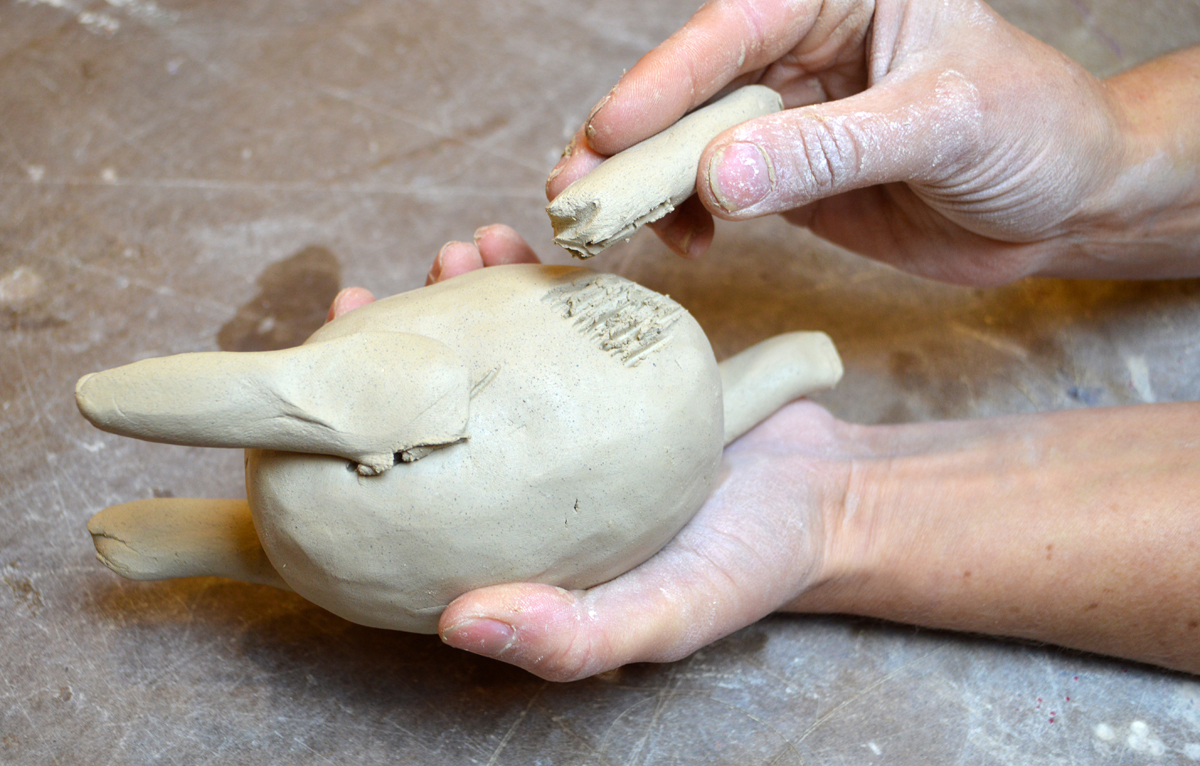
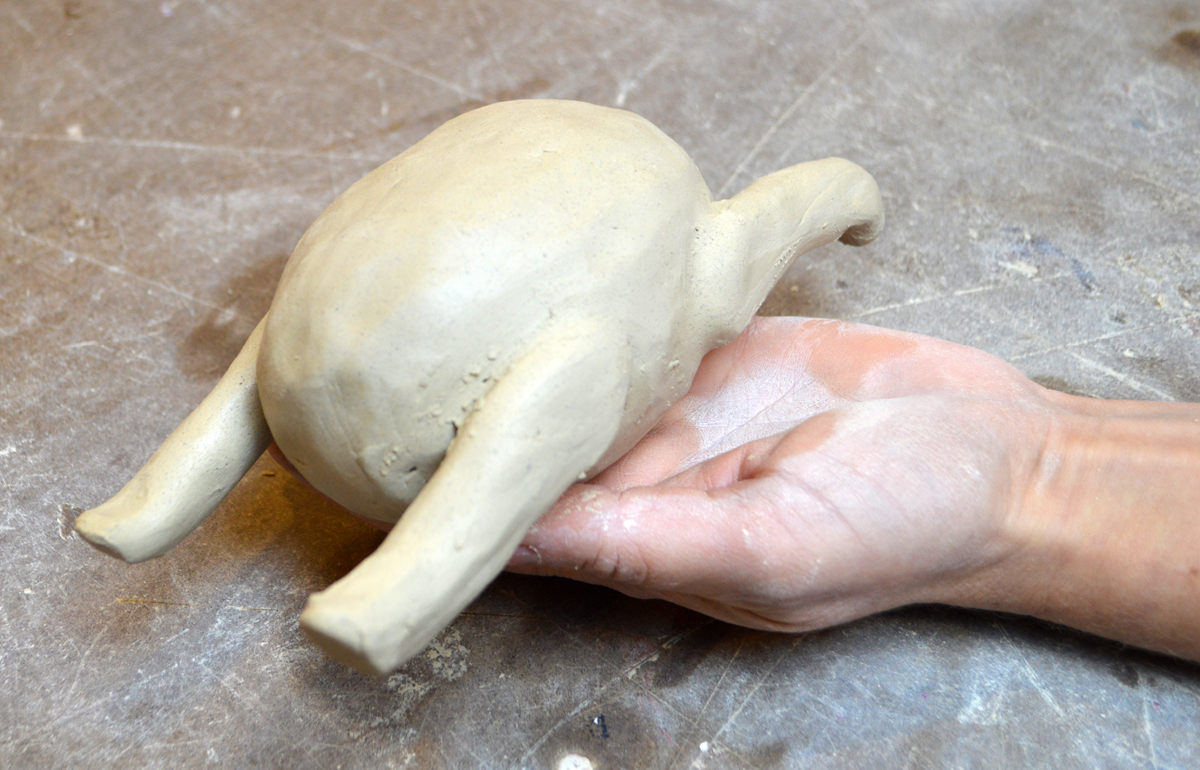
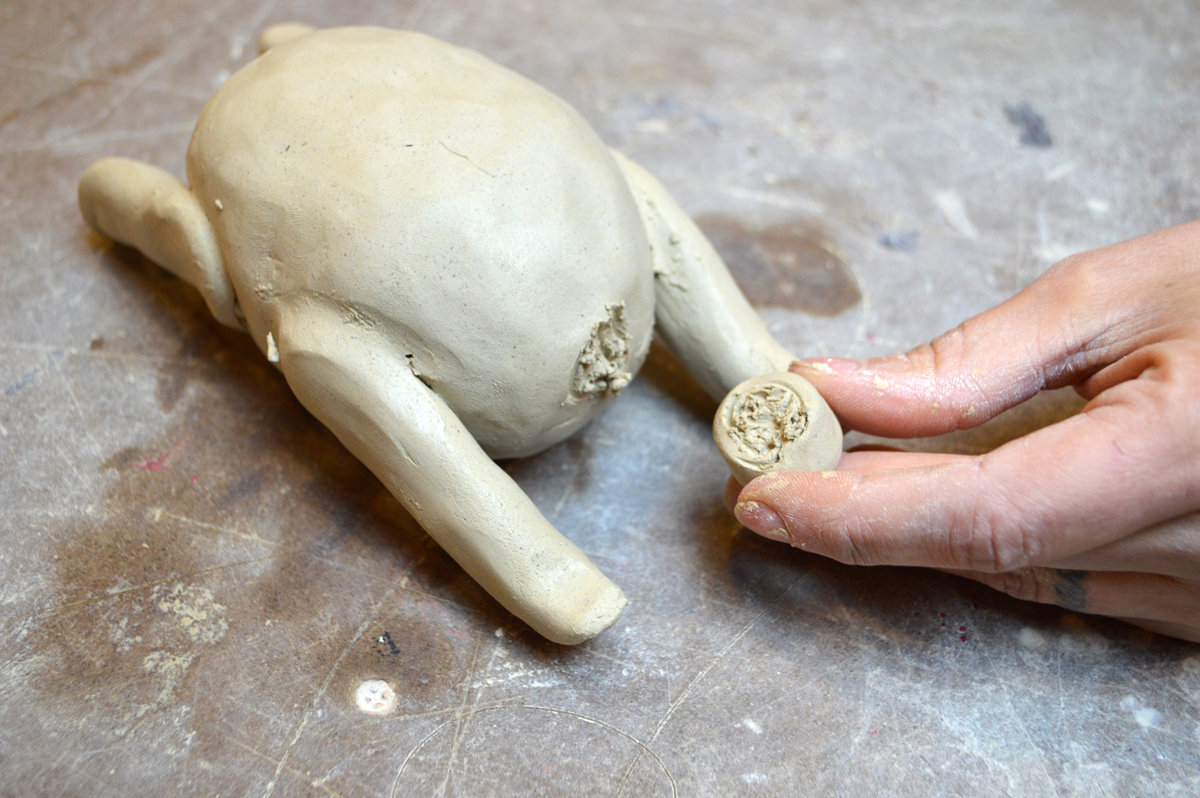
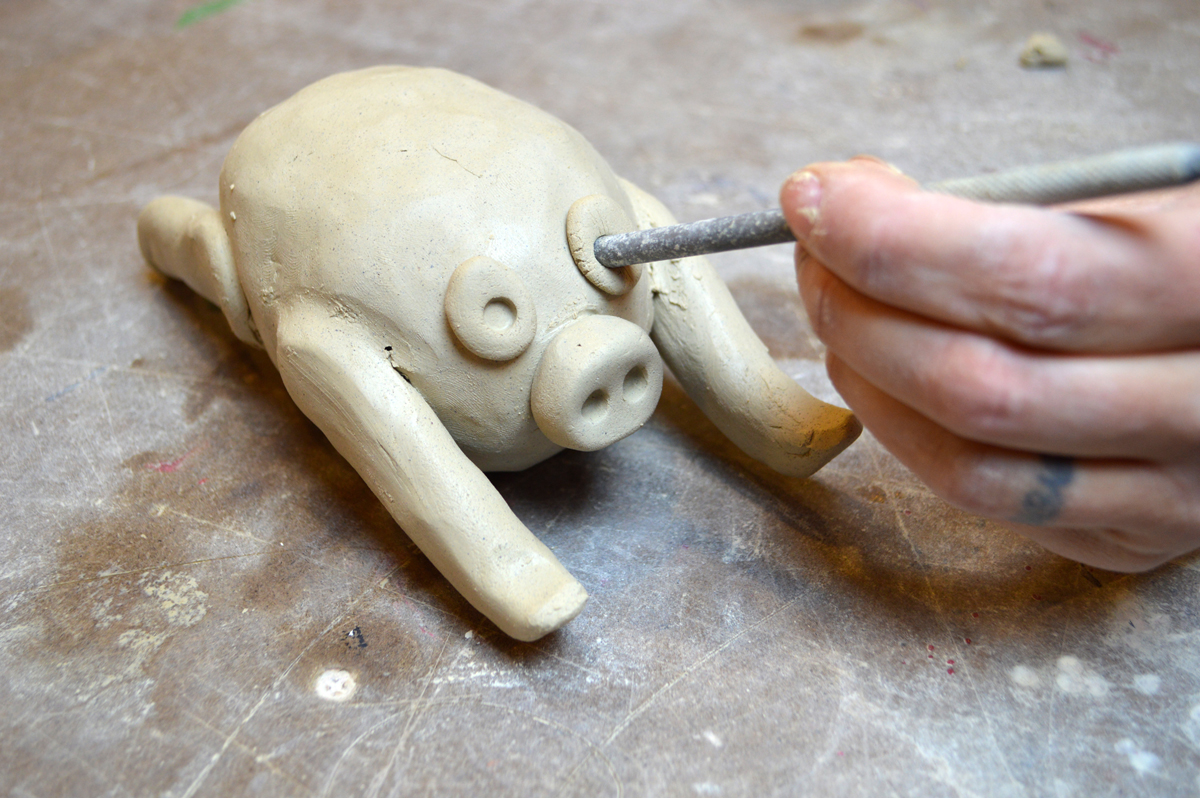
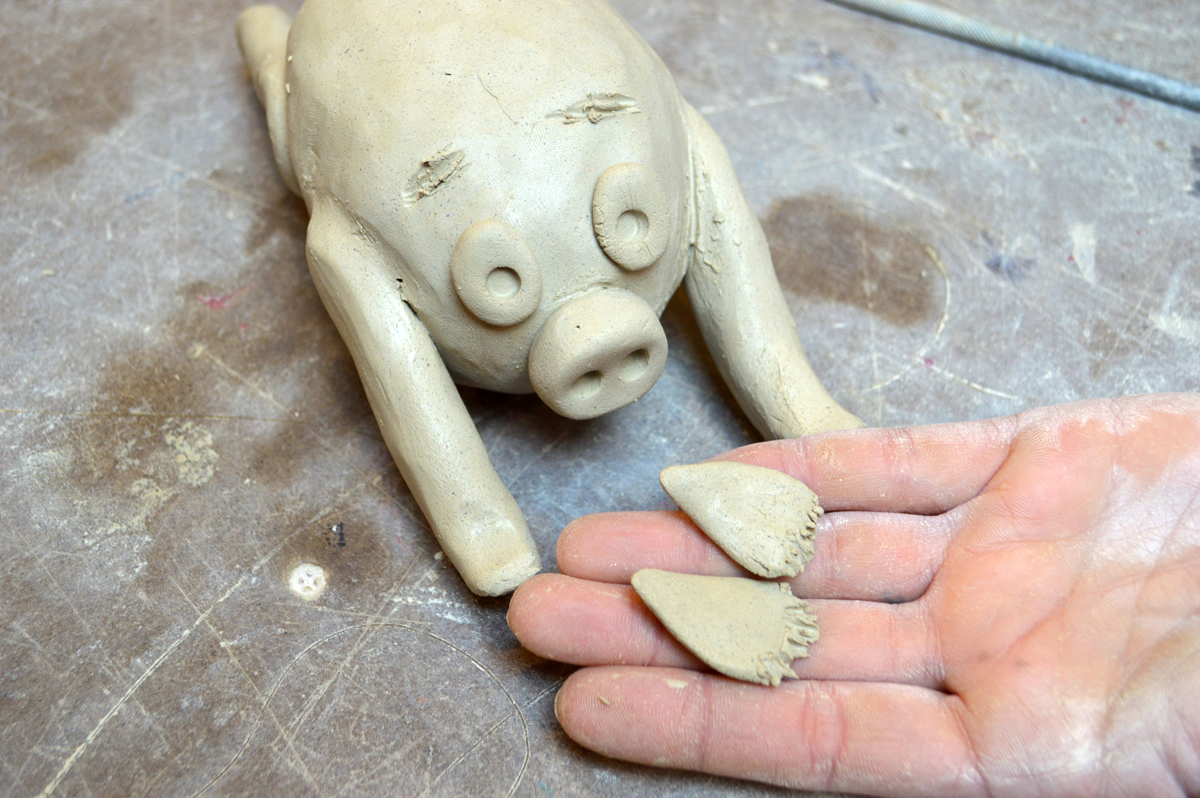
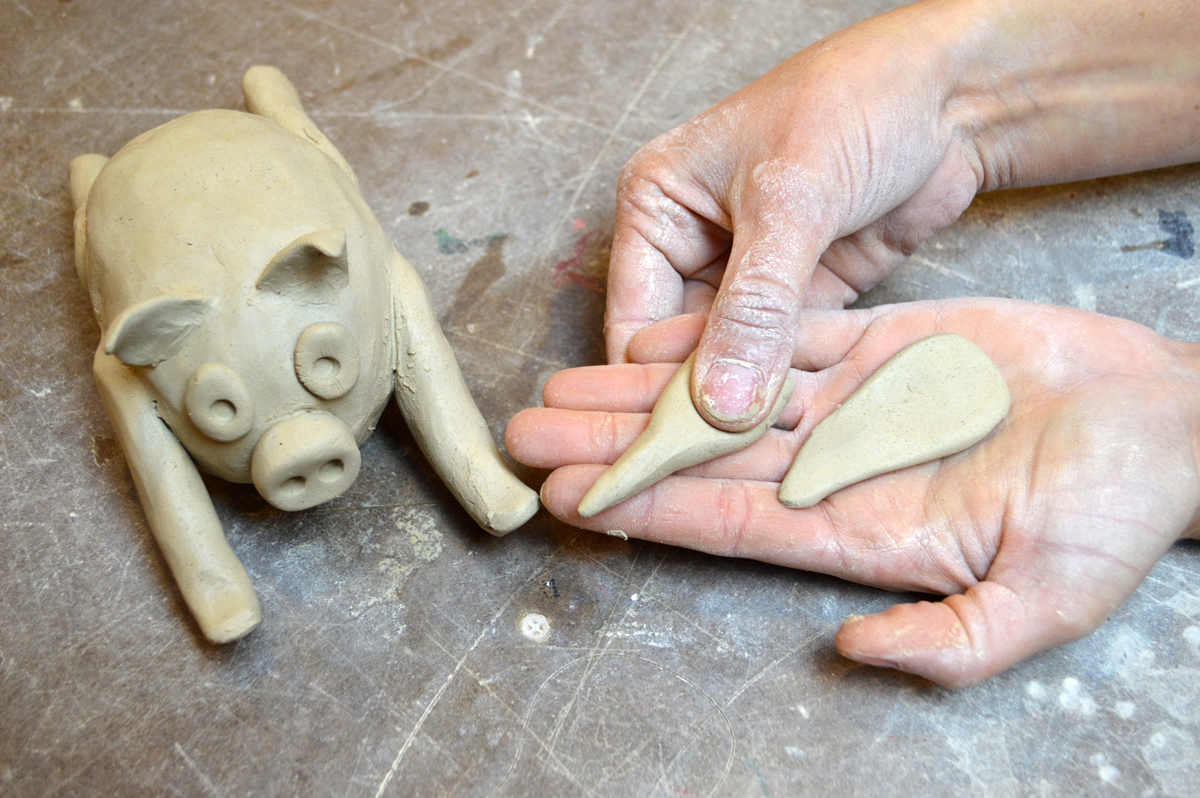
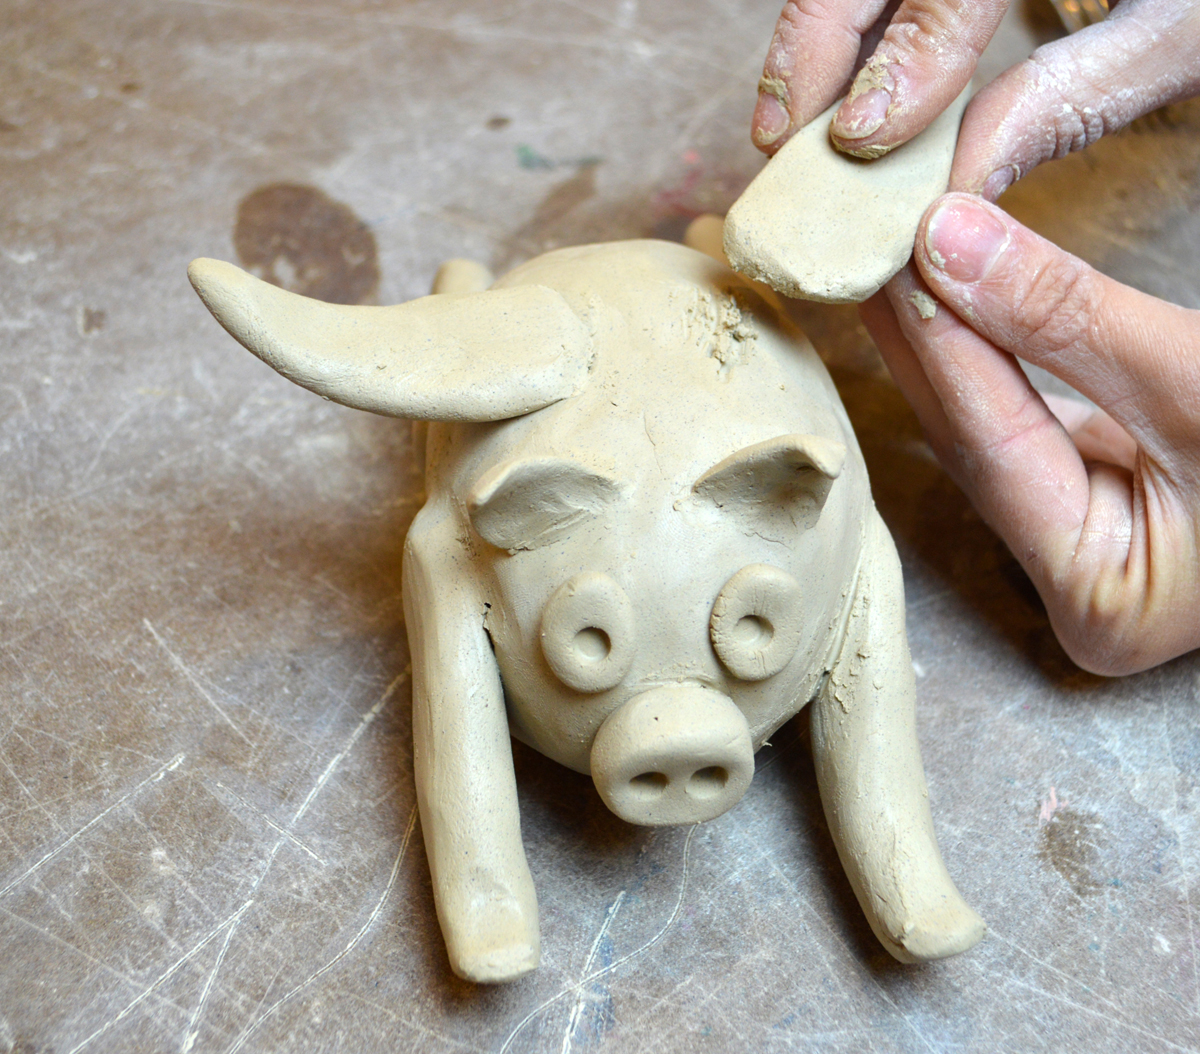
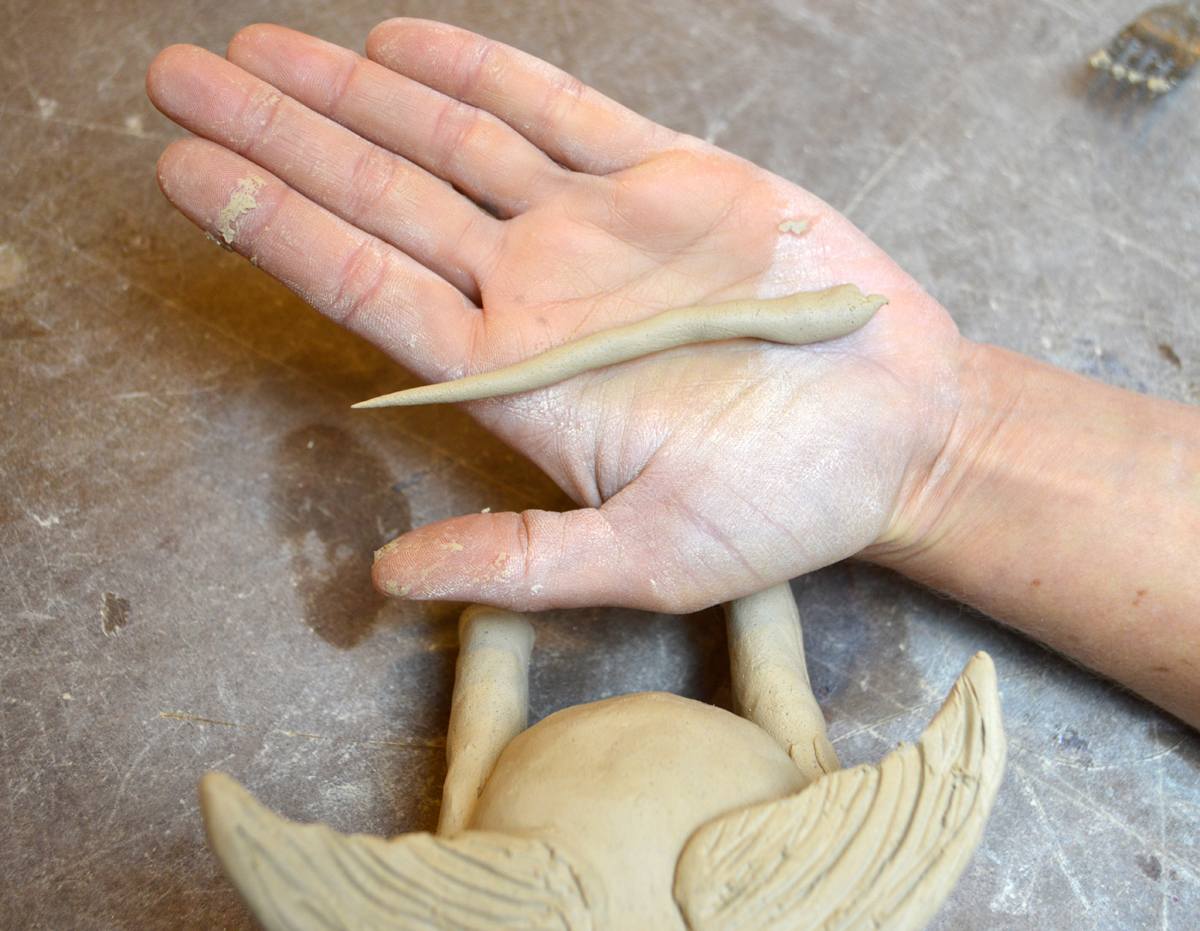
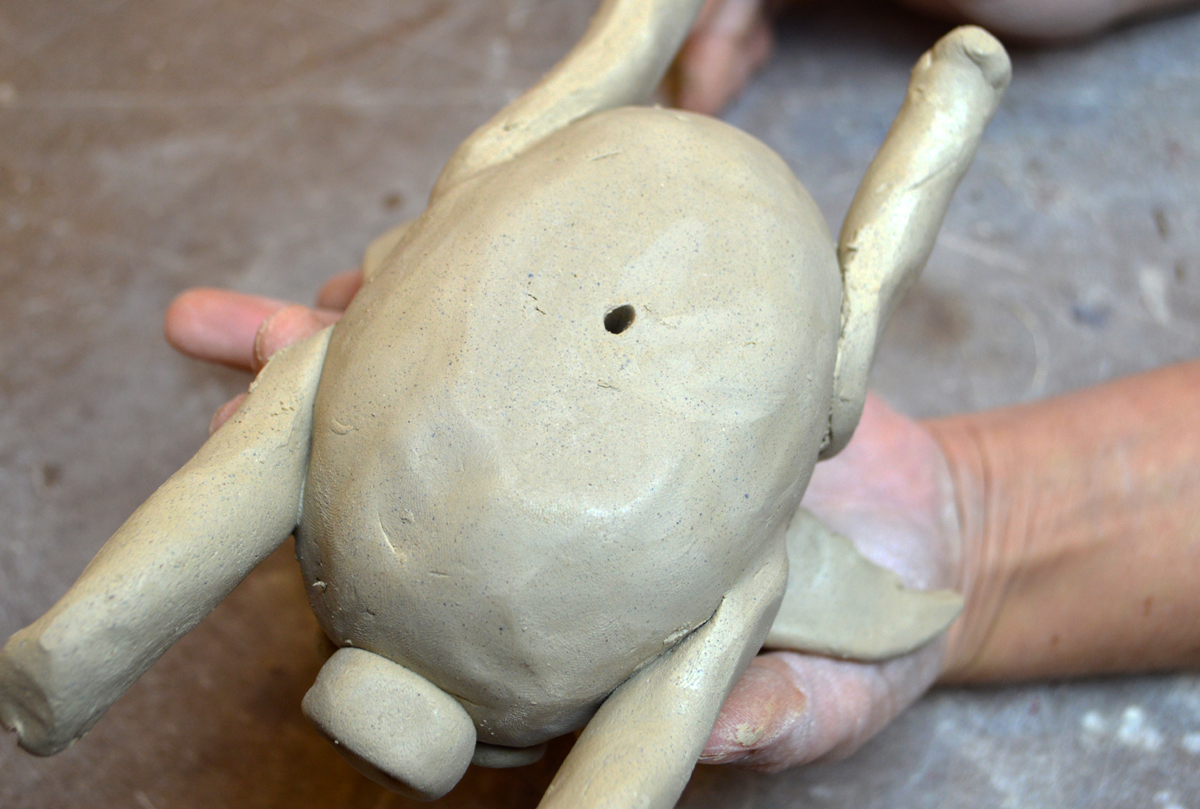
This flying pig is just one of the five ceramic projects in Jenni Ward’s “Create with Clay 3” ebook. For her instructions, just purchase and download the book for $5.


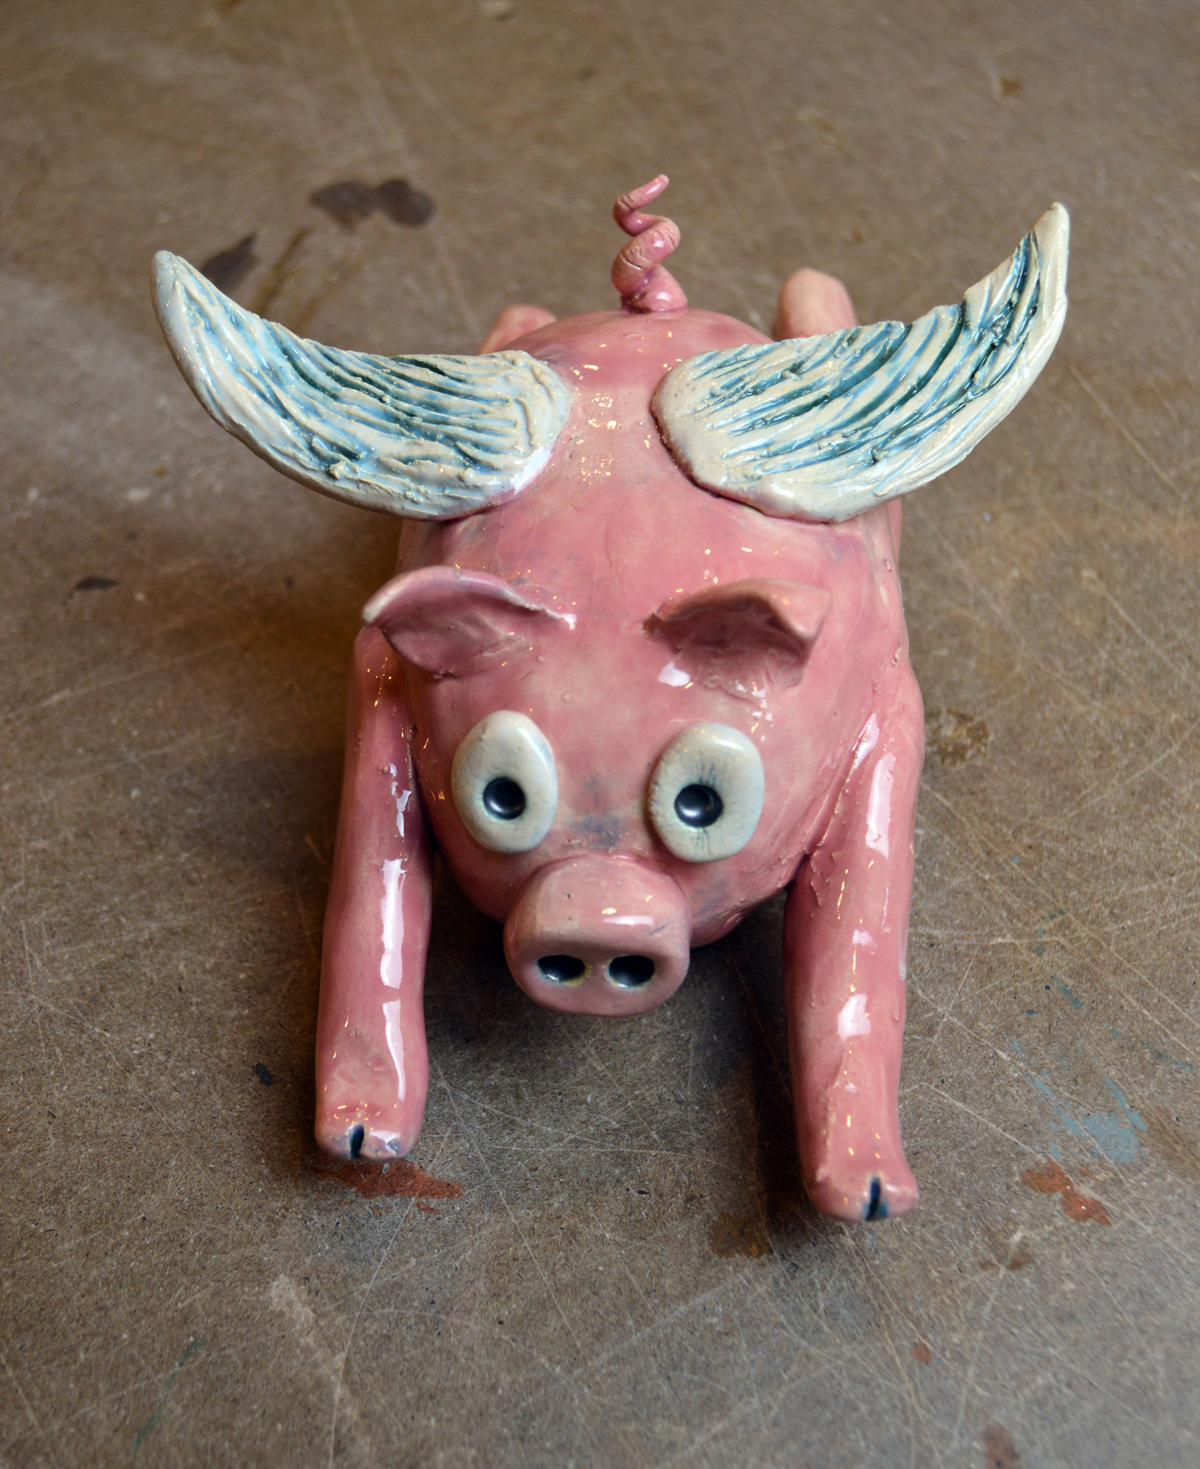
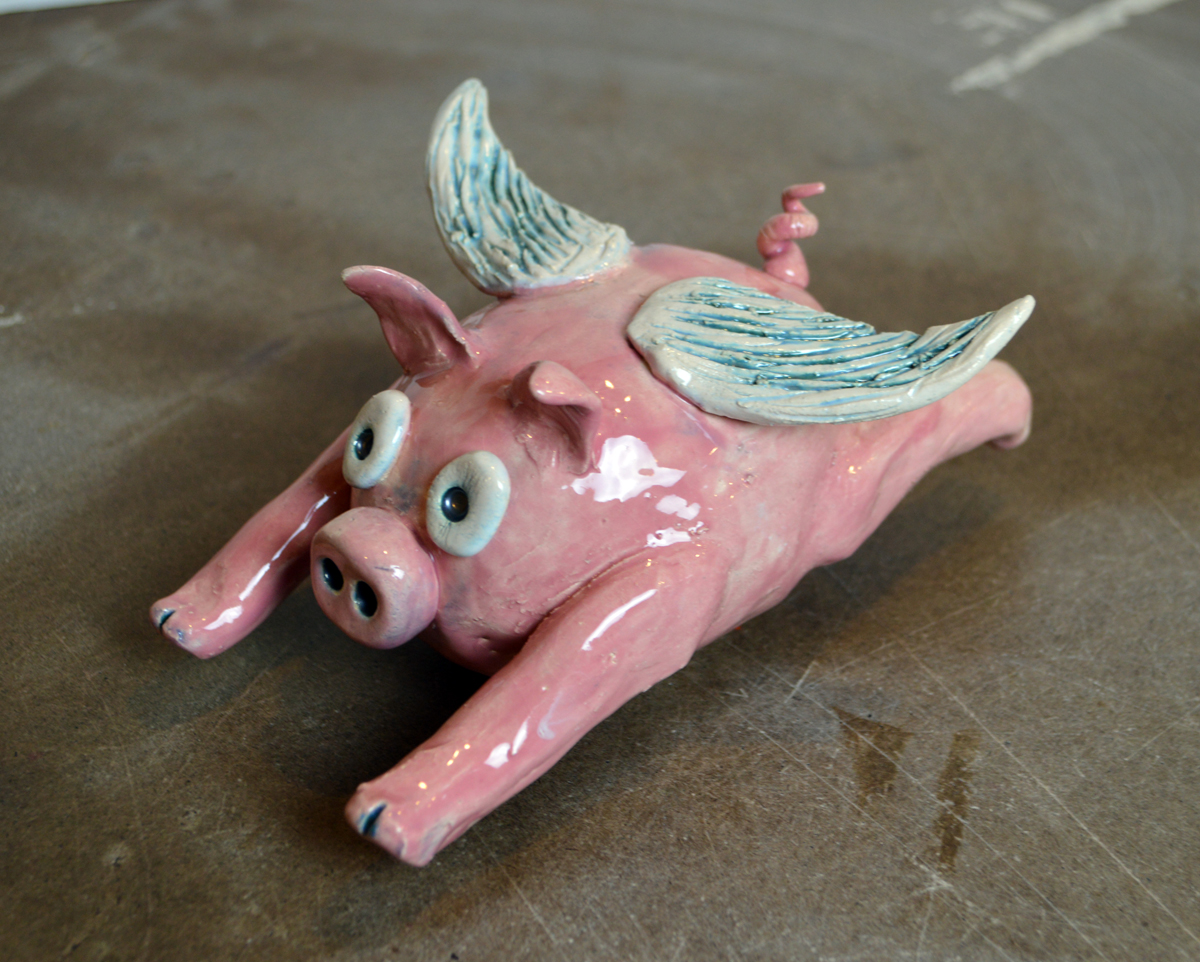
This flying pig is just one of the five ceramic projects in Jenni Ward’s “Create with Clay 3” ebook. For her instructions, just purchase and download the book for $5.
This makes a very cute pillow, and is also a good simple sewing project for young girls OR boys.
2. Spread out and stack all pieces of fabric. Cut to make a square.
3. Stitch diagonal rows about a ruler width apart.

4. Cut out owl body shape following measurements shown.
5. Fold owl body shape and stitch on short end.
6. Turn inside out and sew across bottom as shown.

7. Sew corner as shown to owl bottom dimension.
Repeat for other corner.
8. Turn right side out.
IMPORTANT: Wash and dry owl on high (hot) settings.
The faux chenille texture with happen in the dryer.

9. Stuff owl with batting.

10. Fold over top and hand sew closed.

11. Sew wooden eyes in place as shown.

12. Cut a triangle and hand sew in place.

Your done! Enjoy your owl!
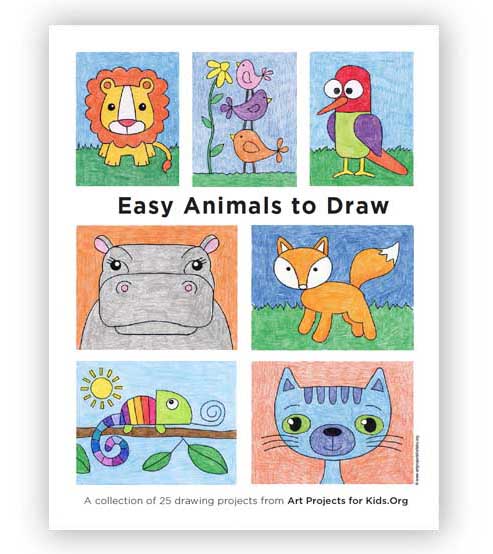 Now available in my PDF Shop, a new collection of animal drawing projects that are targeted for the beginner artist.
• View and purchase Draw Easy Animals eBook
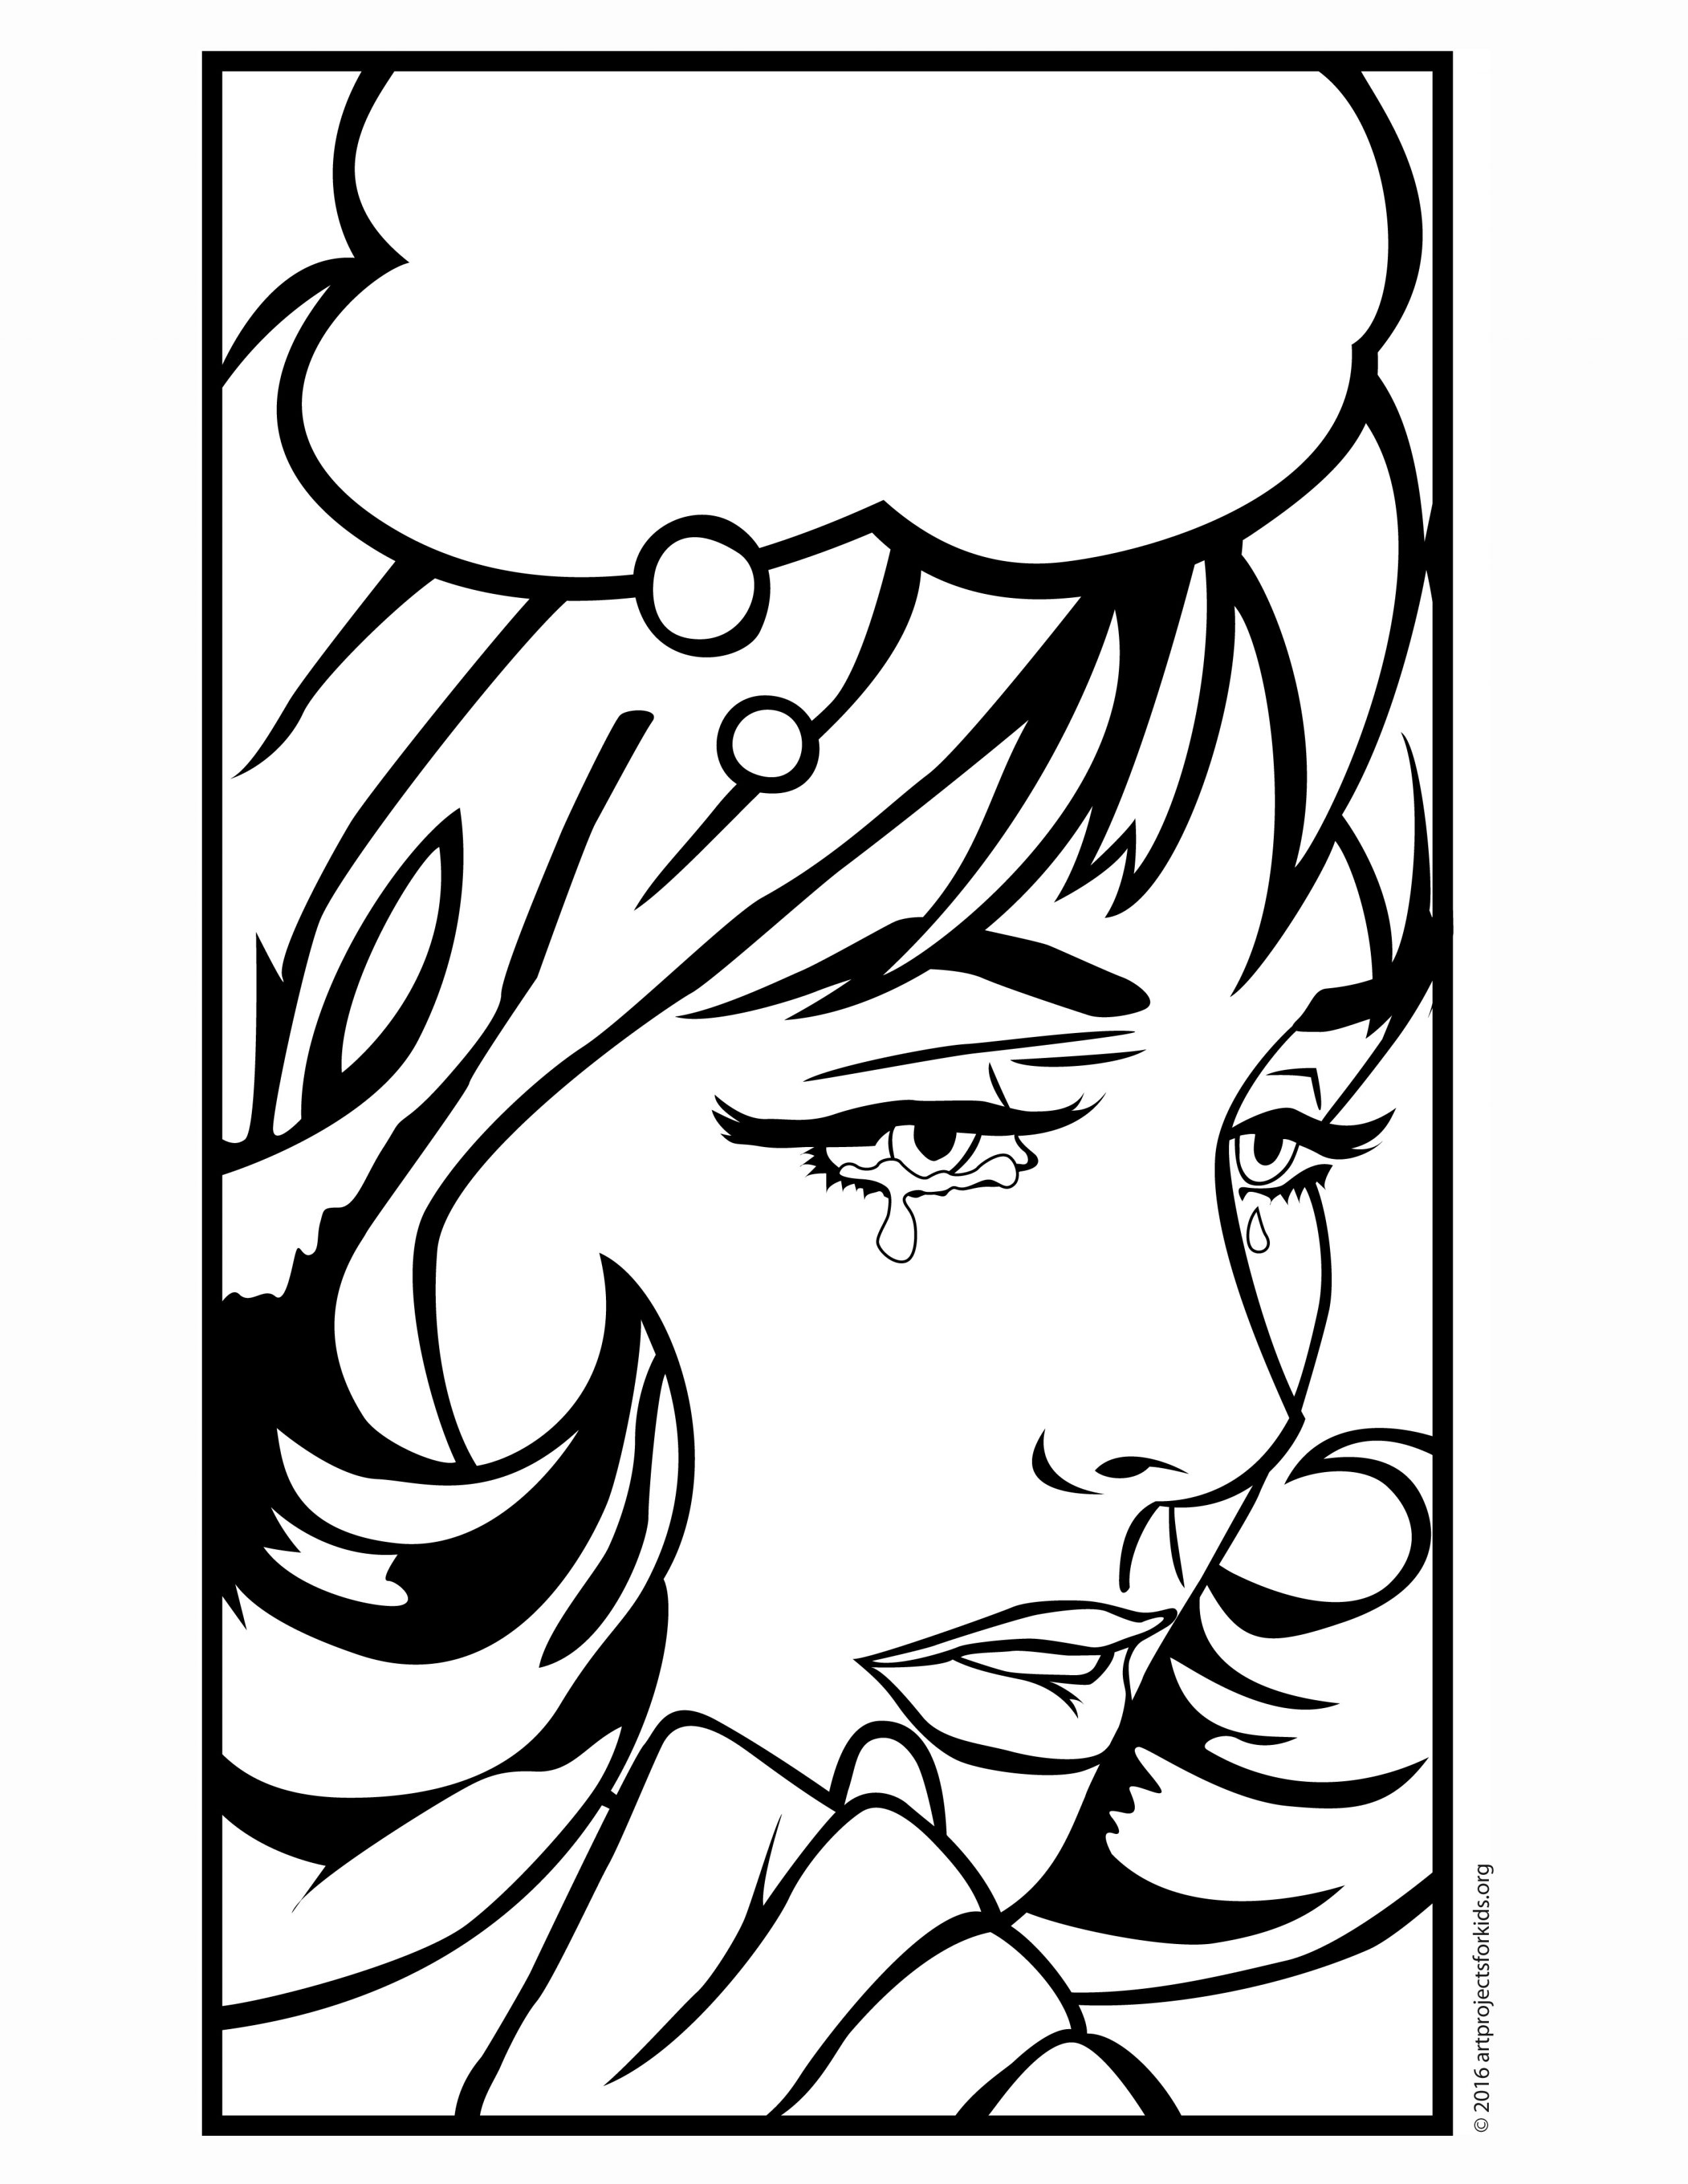 I combined some old comic book images to come up with this new “Crying Lady” that is a now a mural option over in my PDF Shop. But for those of you that just want to write funny captions on a letter size page, then here you go.
• View and download Pop Art Crying Lady coloring page
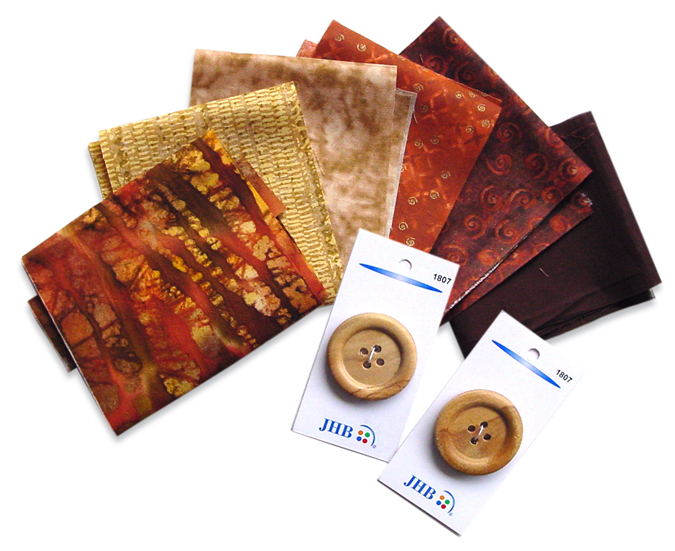
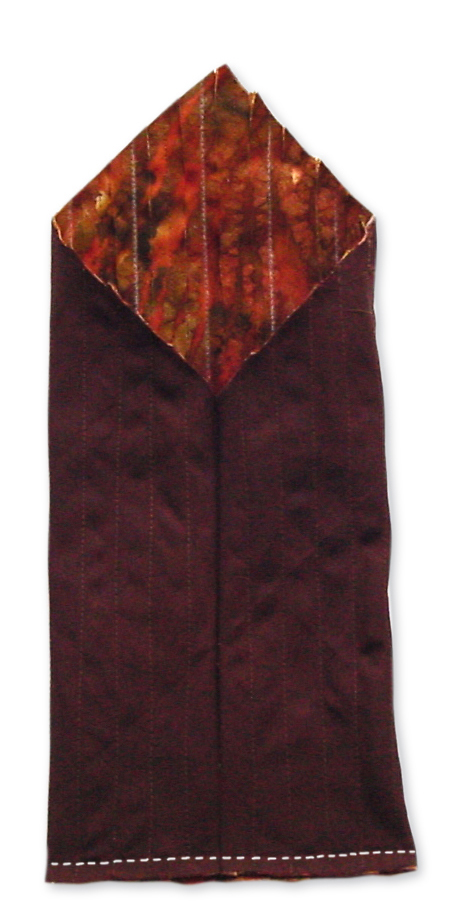
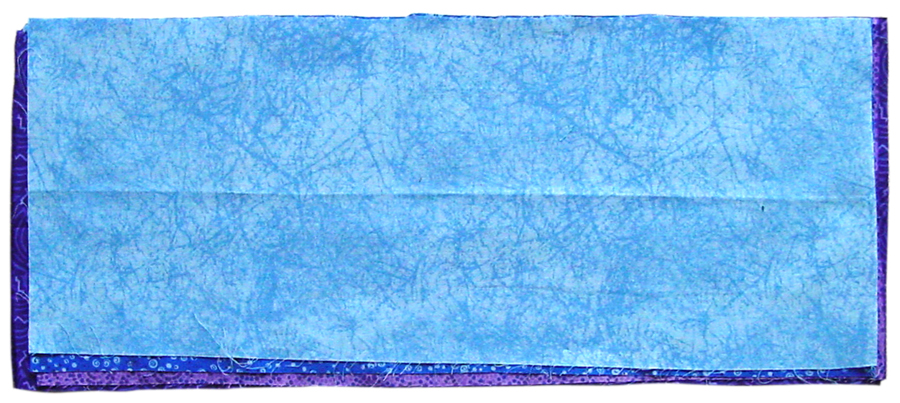
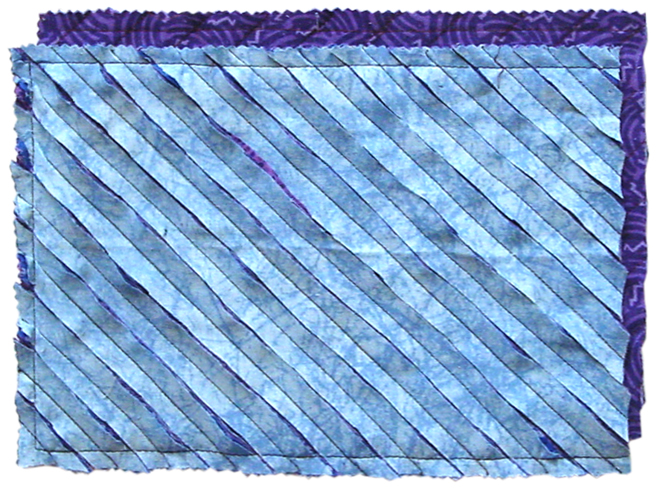
I hope there are some campers or beginner sewers out there who might be looking for a simple sewing project. It’s a fun way to create your own kind of textured fabric.
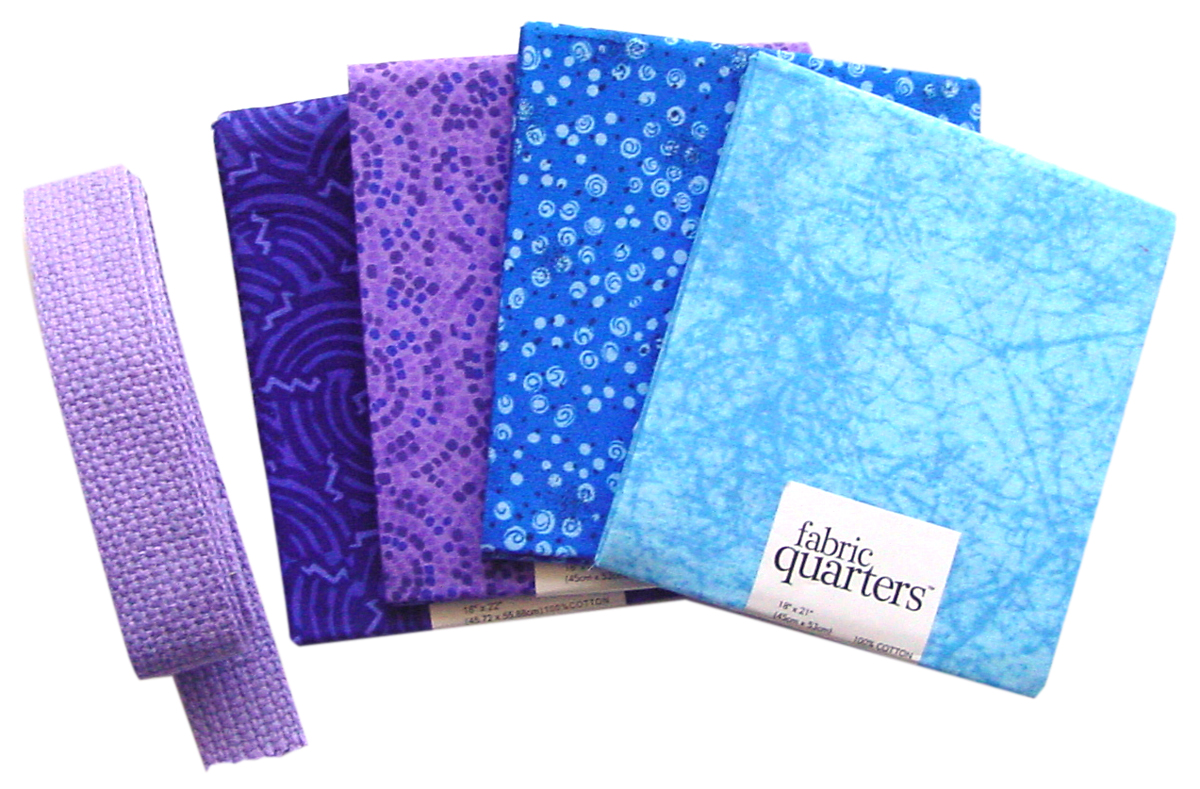
SUPPLIES: 18″ woven strap, 4 Fat Quarters of COTTON fabric., ruler.
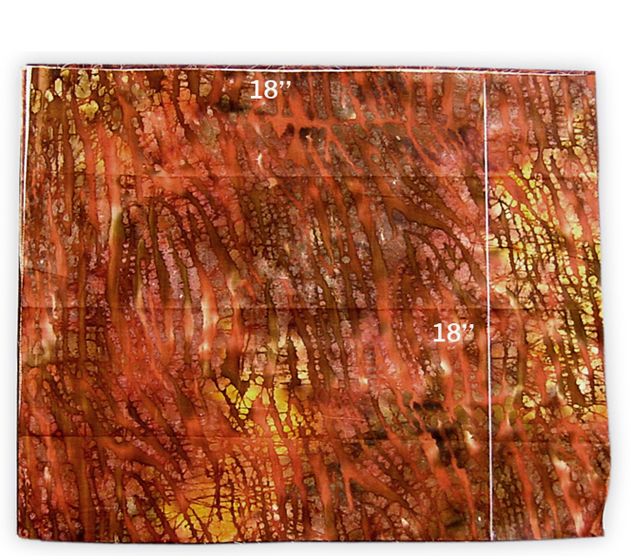
2. Cut rectangle in half. Stack one set on top of the other so that you have eight layers total.
3. Fold corner over to create a 45 degree angle. Crease and trace line.
4. Use pencil and width of ruler to continue diagonal lines until complete.

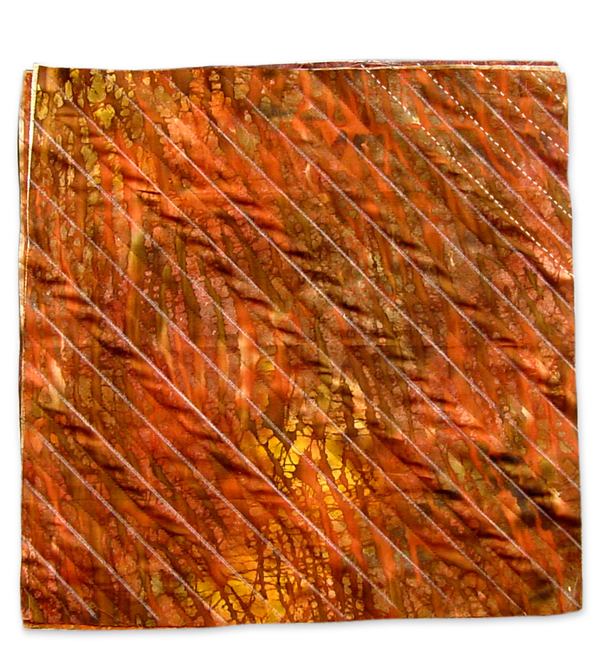
5. Stitch over lines through all layers.
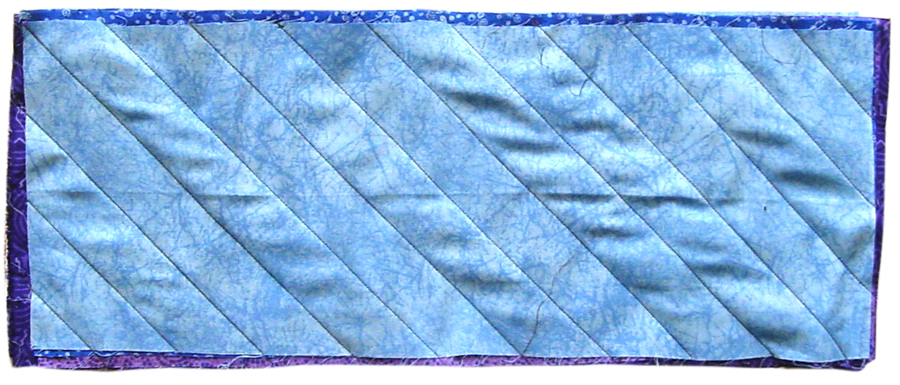
6. Use ruler to make another set of lines in between.

7. Stitch over the new lines.
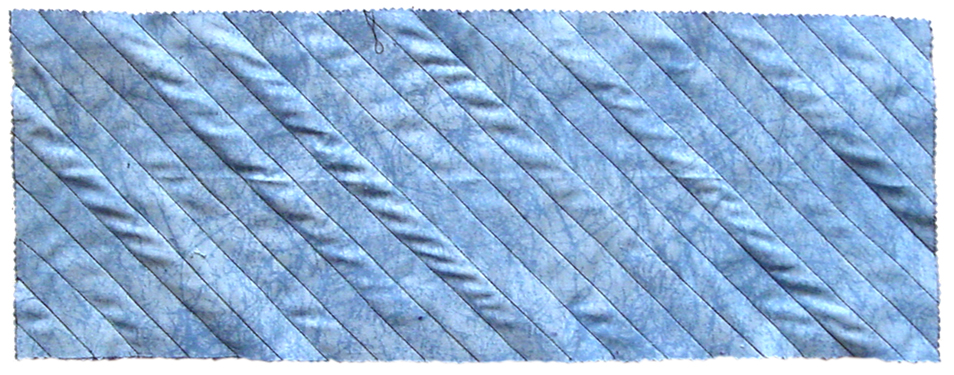
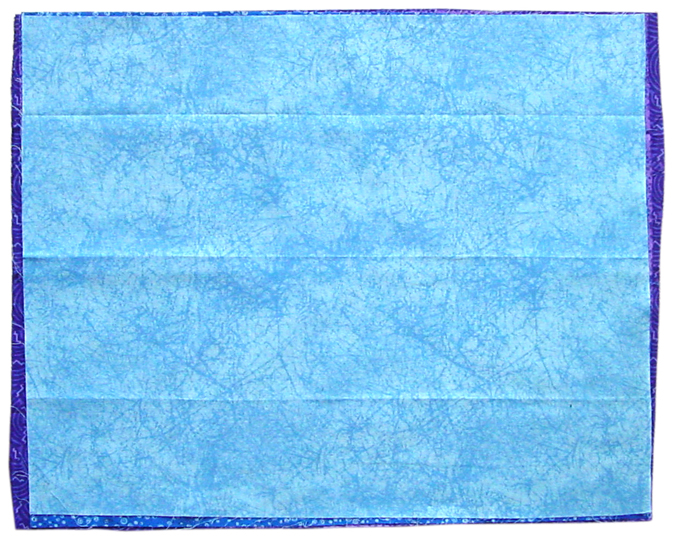
8. Cut edges straight to make clean rectangle.
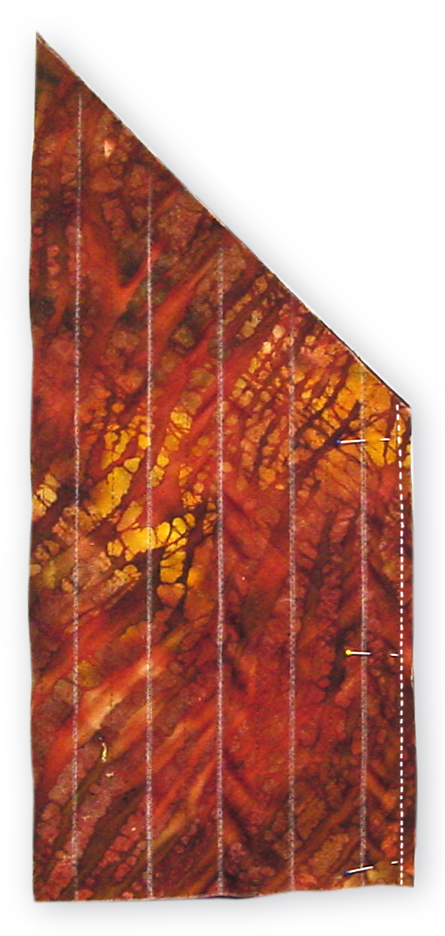
9. Cut through top 7 layers, keep bottom one intact.

10. Use ruler to help stitch line around the entire edge.
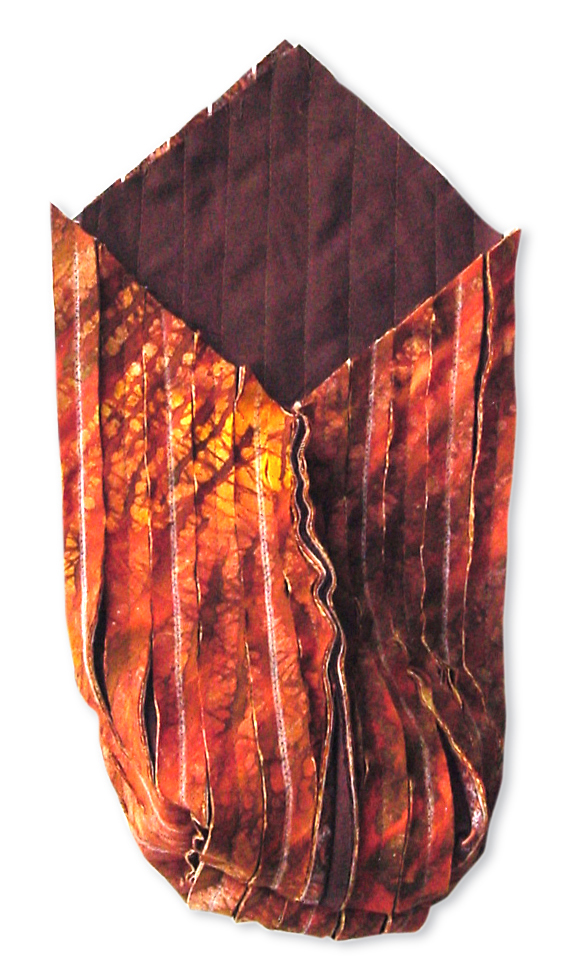
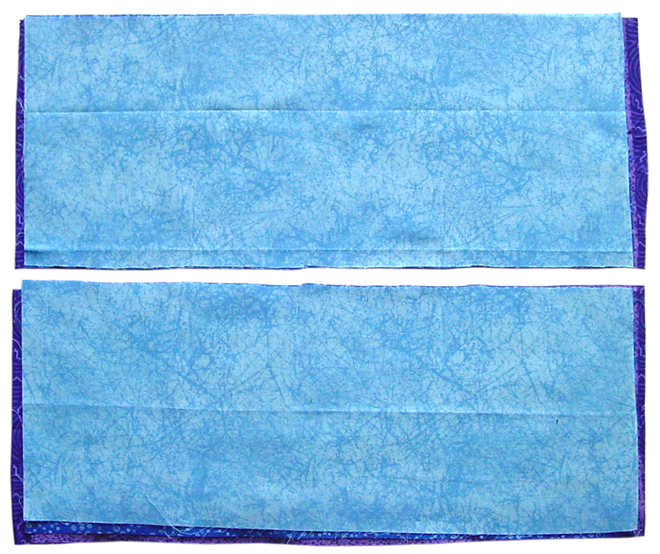
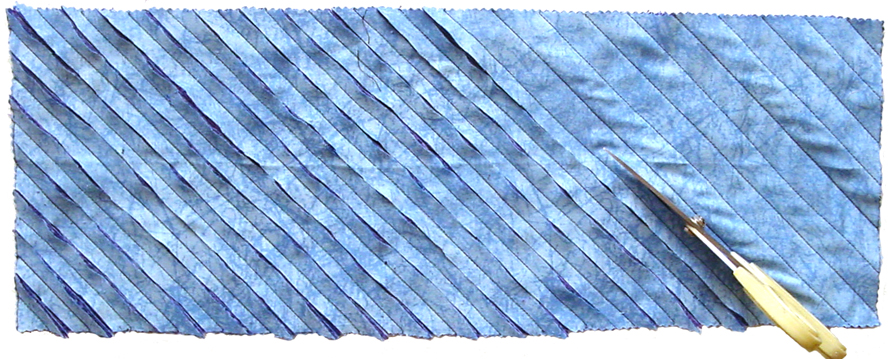
11. Cut rectangle in half. Stitch edge to keep rows laying flat.
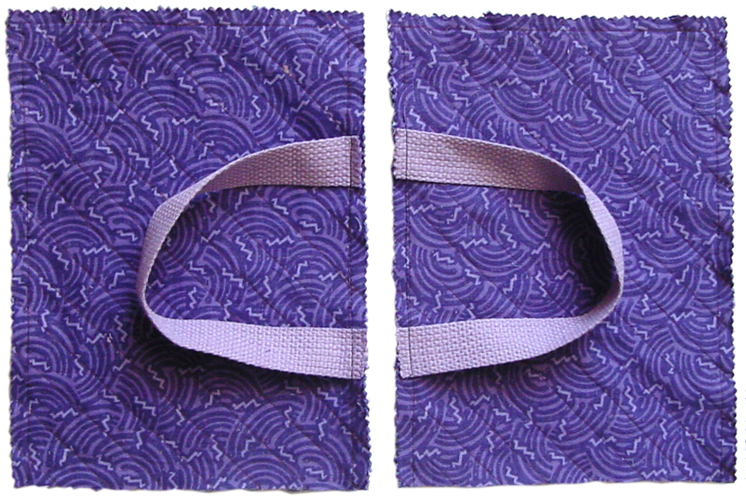
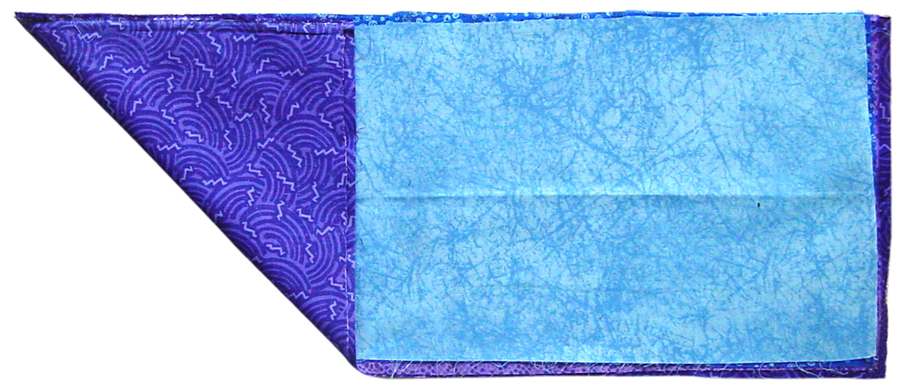
12. Cut straps to desired length and stitch one to each side.
13. Stitch three sides together.

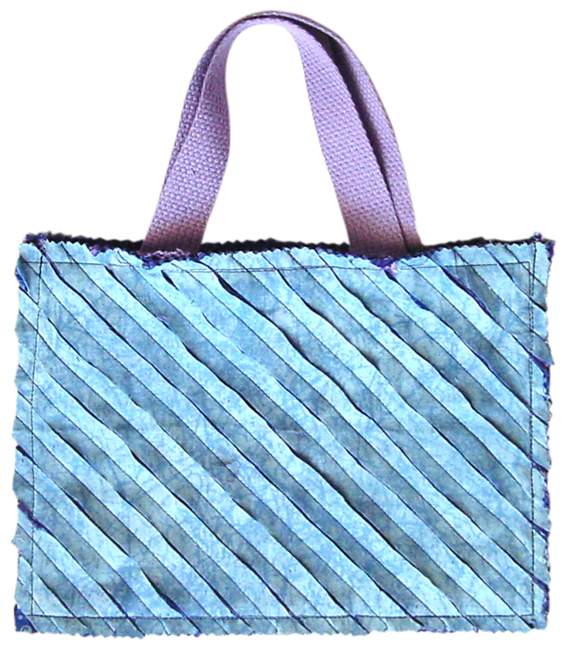
14. Throw bag in a hot wash and hot dryer cycle. The cotton will shrink and
fold up to make a very cool looking chenille texture.
![]()
 During my travels to Haiti a few years ago, I met some truly selfless people whom I have felt compelled to keep working with and see what I can do to support. Winter is one such example, an amazing man who does his best to run a school for some of the poorest kids in Haiti, even to the extent of convincing nine teachers to come and work basically for free. I’m excited to try a new fundraiser for him and his school, Rajepre, one that I think is a win / win for everyone. I found a company called Zazzle that allows you to create all kinds of custom order products with your own art. I’ve started a store that I will continue to add products too, but meanwhile, here’s a pretty cool introduction, a Pierre Maxo iPhone 6 case. It costs $49.95, with a royalty of $2.50 from every sale that will go to Winter’s school fund. Customers get a colorful, original phone case AND help a good cause. It doesn’t get much better than that!
• View and order Pierre Maxo iPhone 6 Case
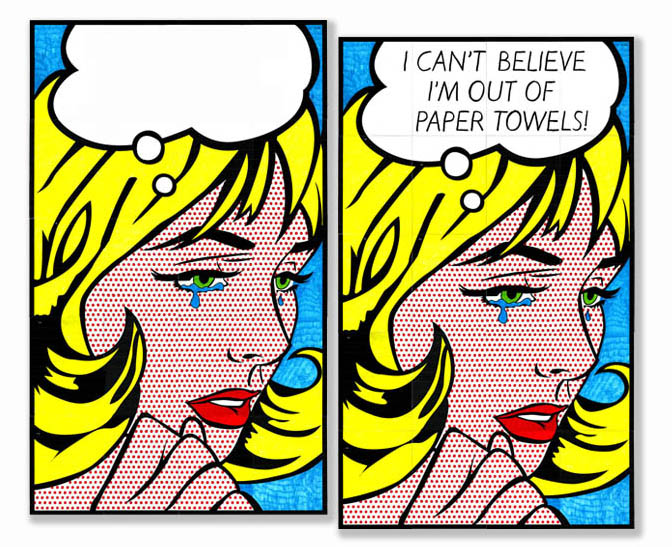 Roy Lichtenstein used comic book images to ask questions about popular culture. I made this composite of his artwork so students could do the same, OR clever teachers might make a creative wish list for parents. All kinds of possibilities! http://artprojectsforkids.org/product/lichtenstein-mural/
 If you like the sound of an intimate art retreat at an historic B&B by a soon-to-be published author / teacher, then this is for you…
Plans are now in place for my 3rd Annual Art Retreat in Hickory Valley, TN this summer. Years ago I met Regina from Whitney Hill Estates through my sister who lives nearby, and knew instantly that her amazingly restored B&B would be the perfect location for an artsy weekend. I can promise you that her home is even lovelier that the photos show, and the food is even tastier than you could imagine, and her southern charm totally lives up to it’s reputation. Add to that a chance to learn about my top ten projects of the year, and you have the makings of a special retreat. Click on the image to make a deposit to save your space, only 10 are available.
• View and download Art Retreat 2016 Flyer
• Visit my PDF Shop to make a deposit
\
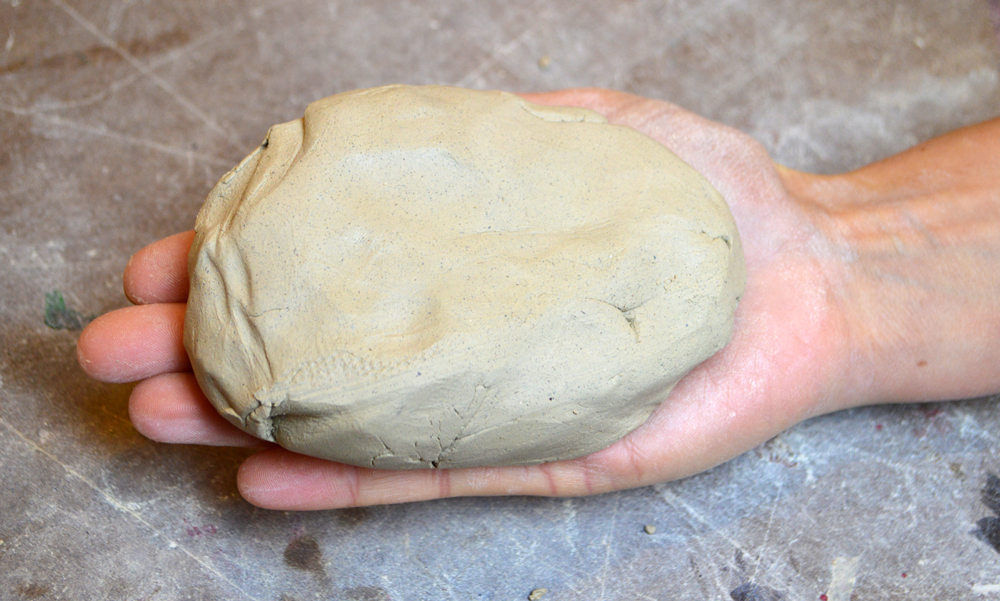
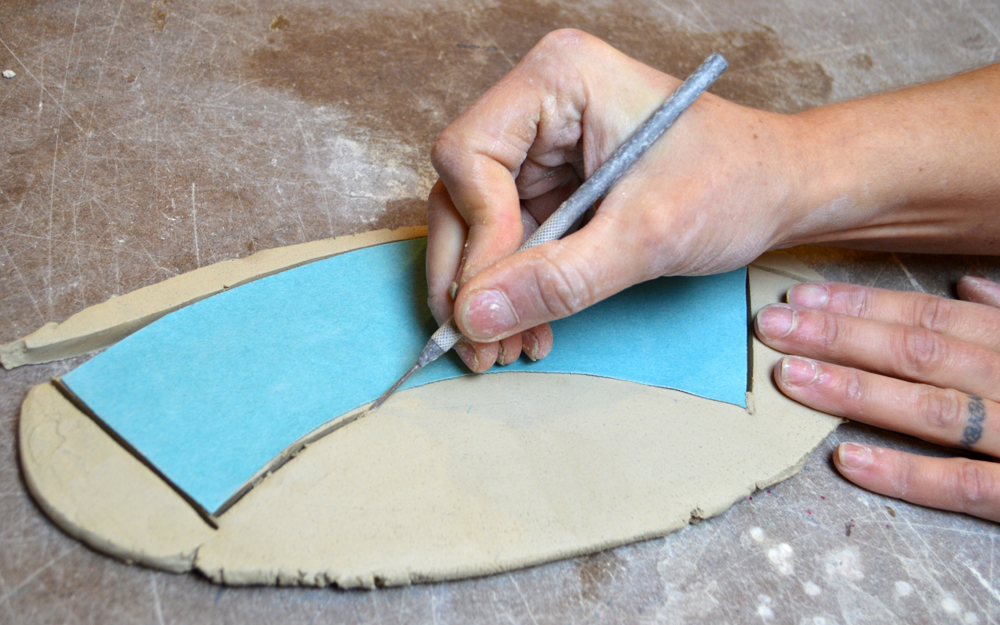
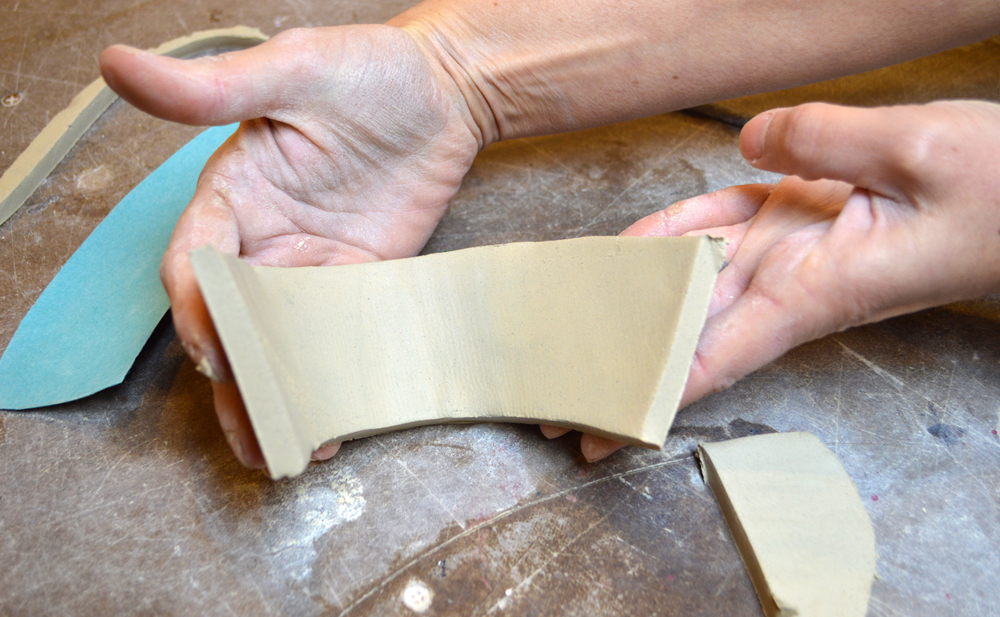
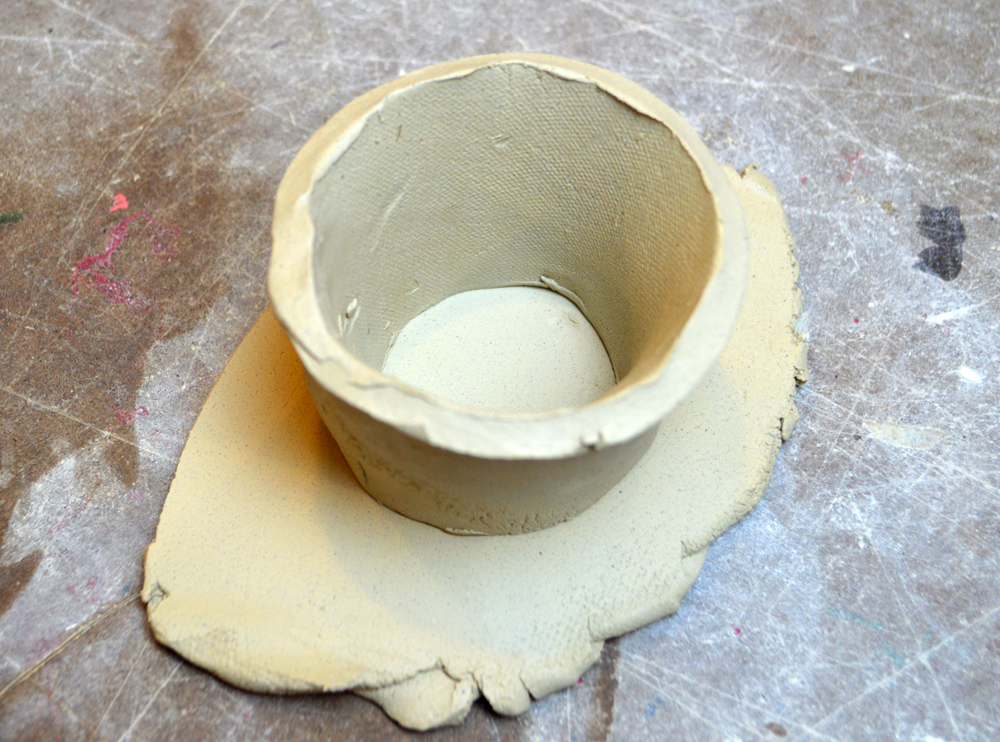
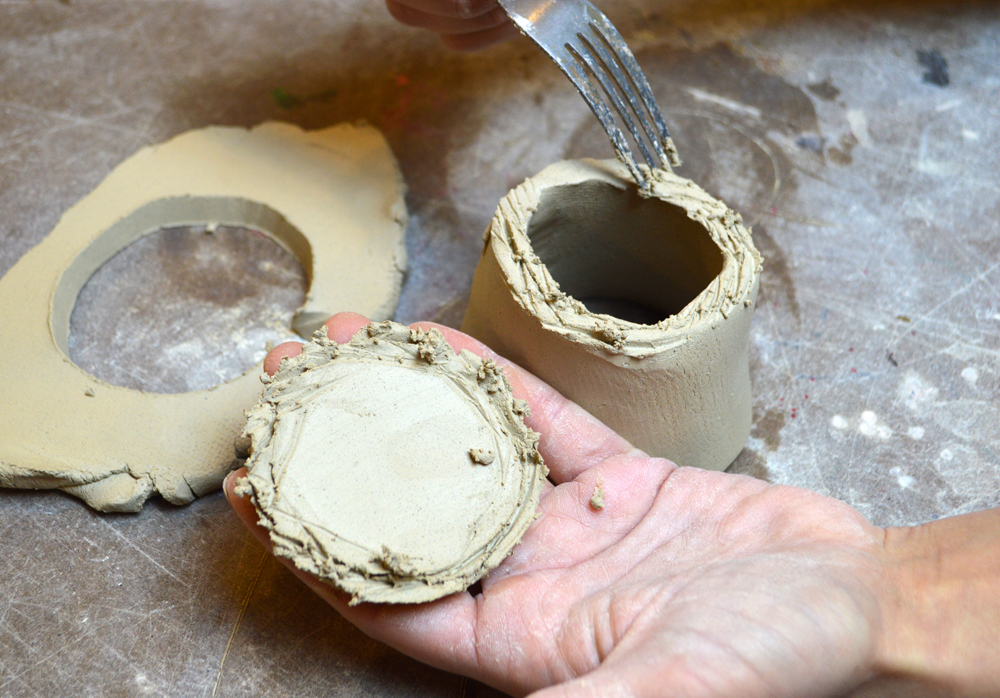
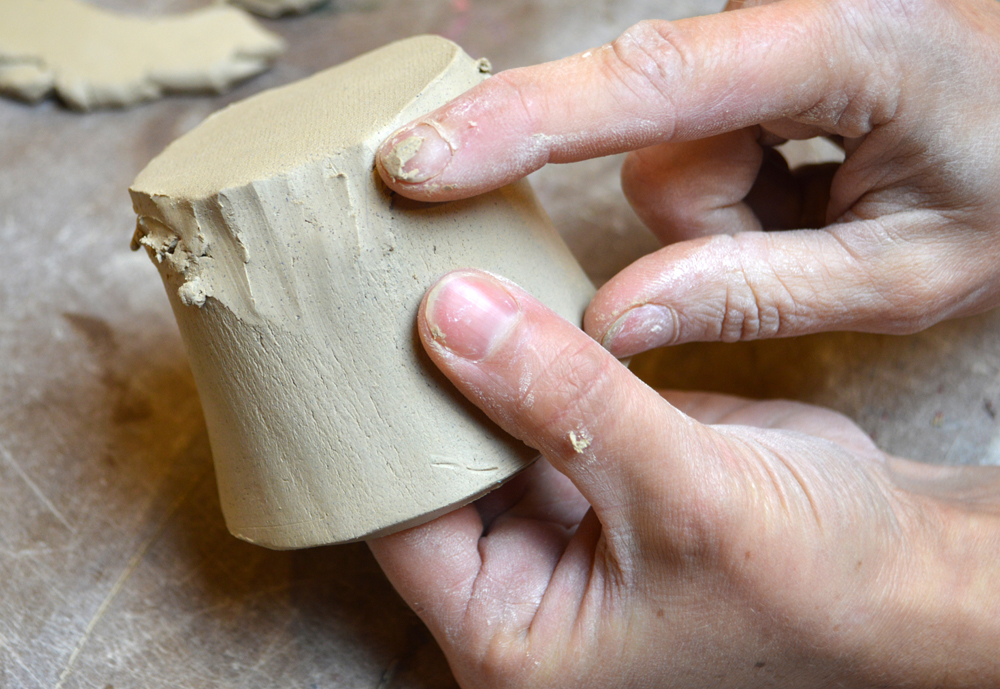
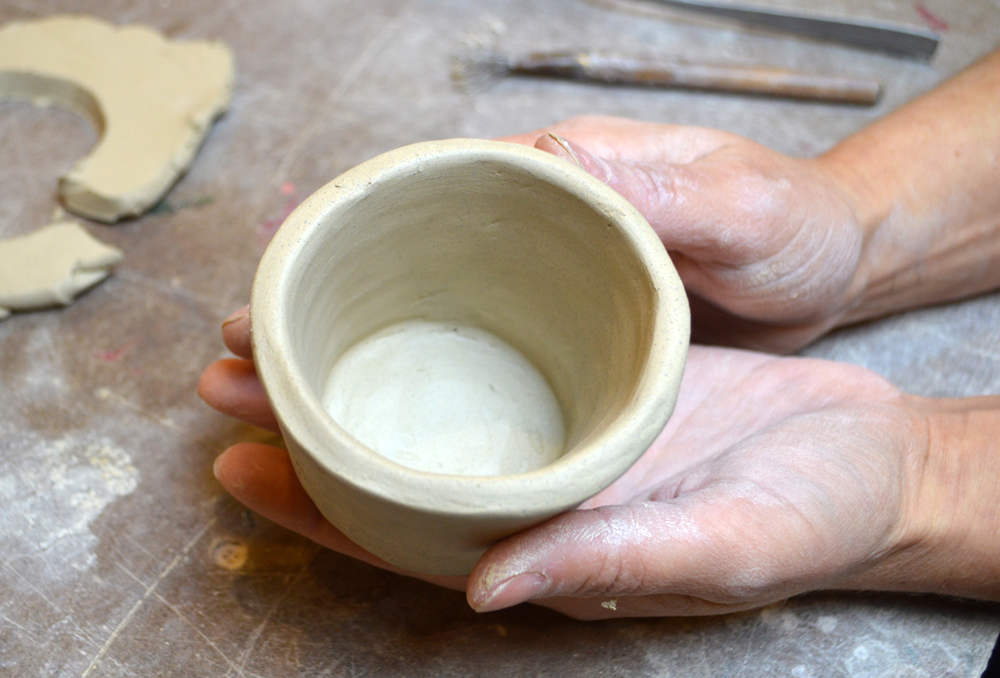
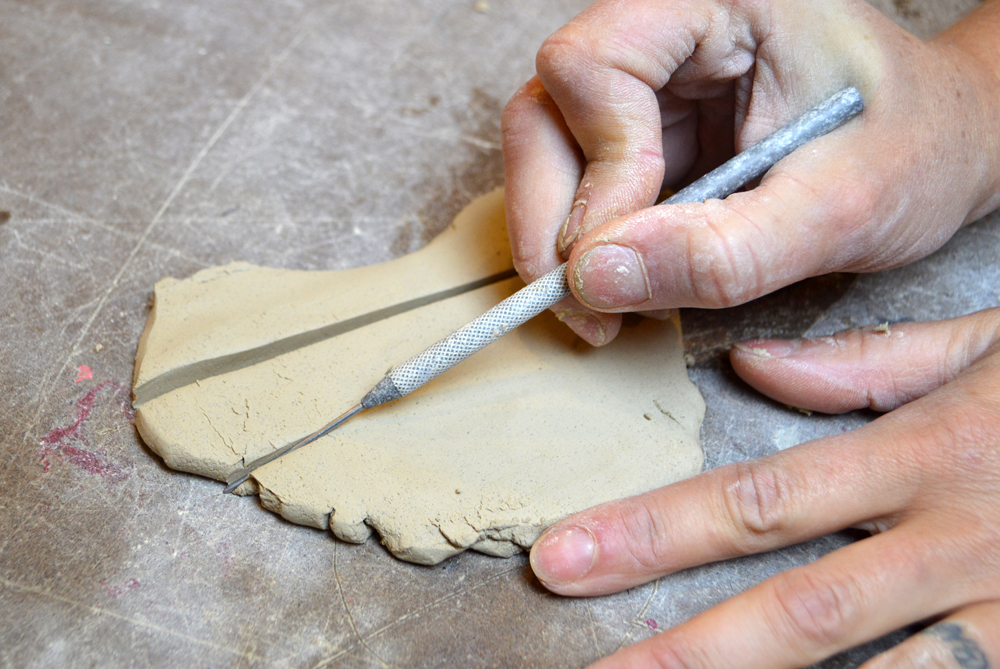
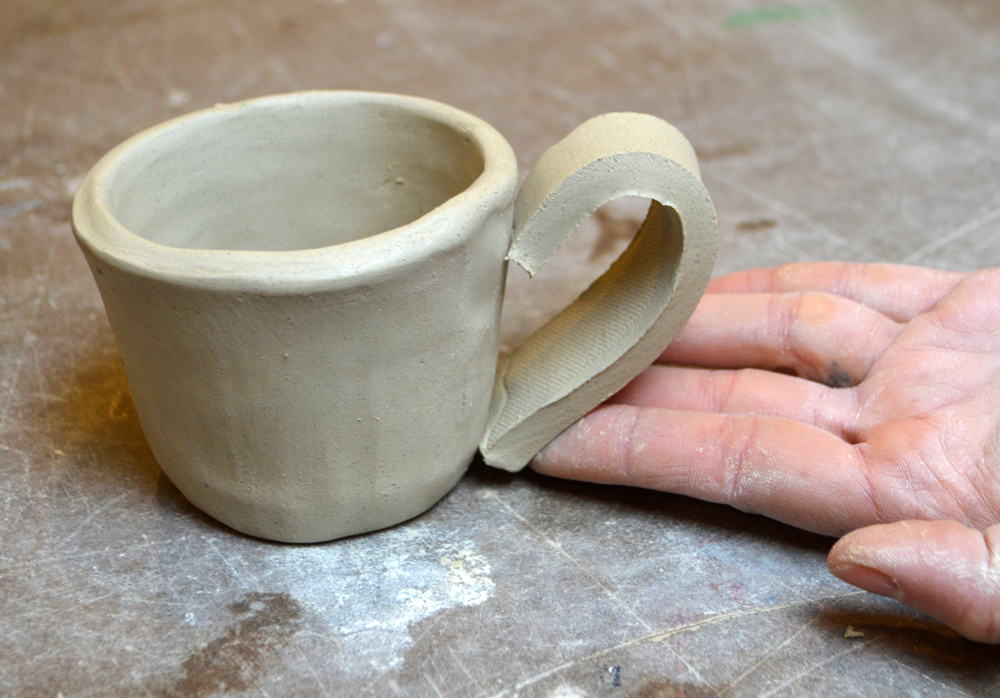
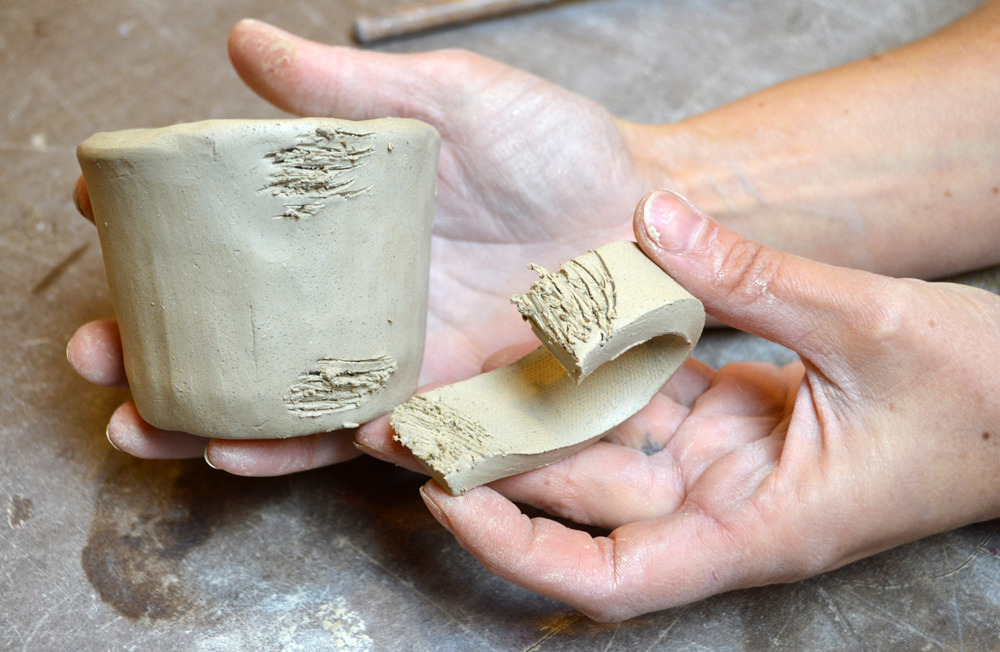
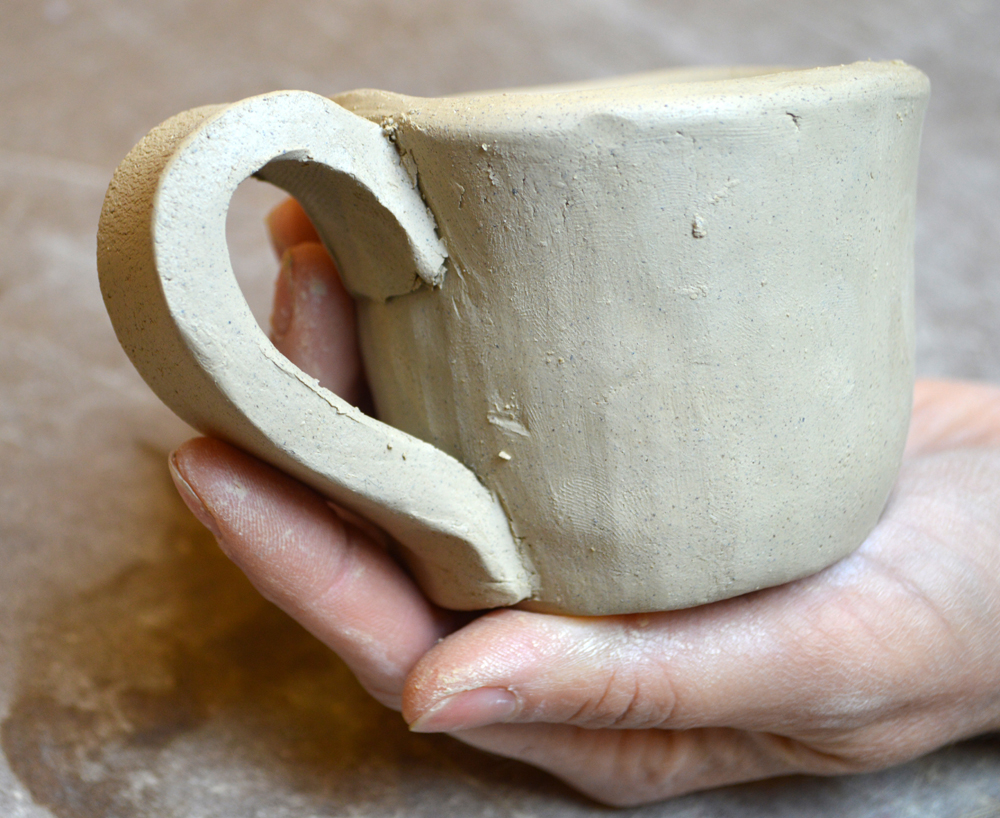
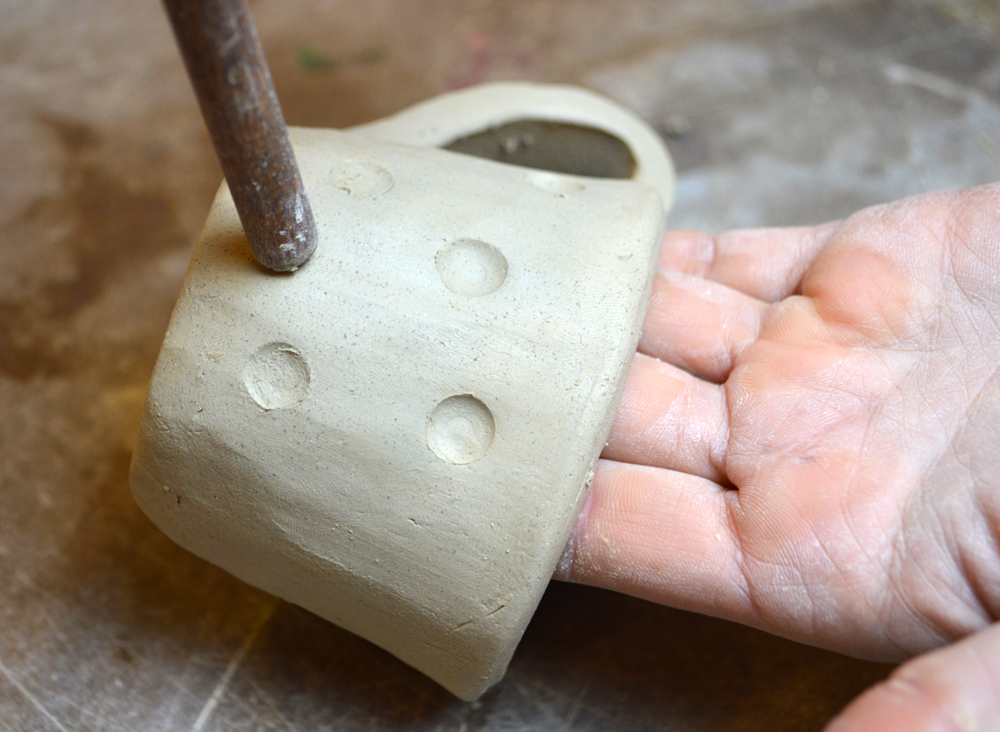
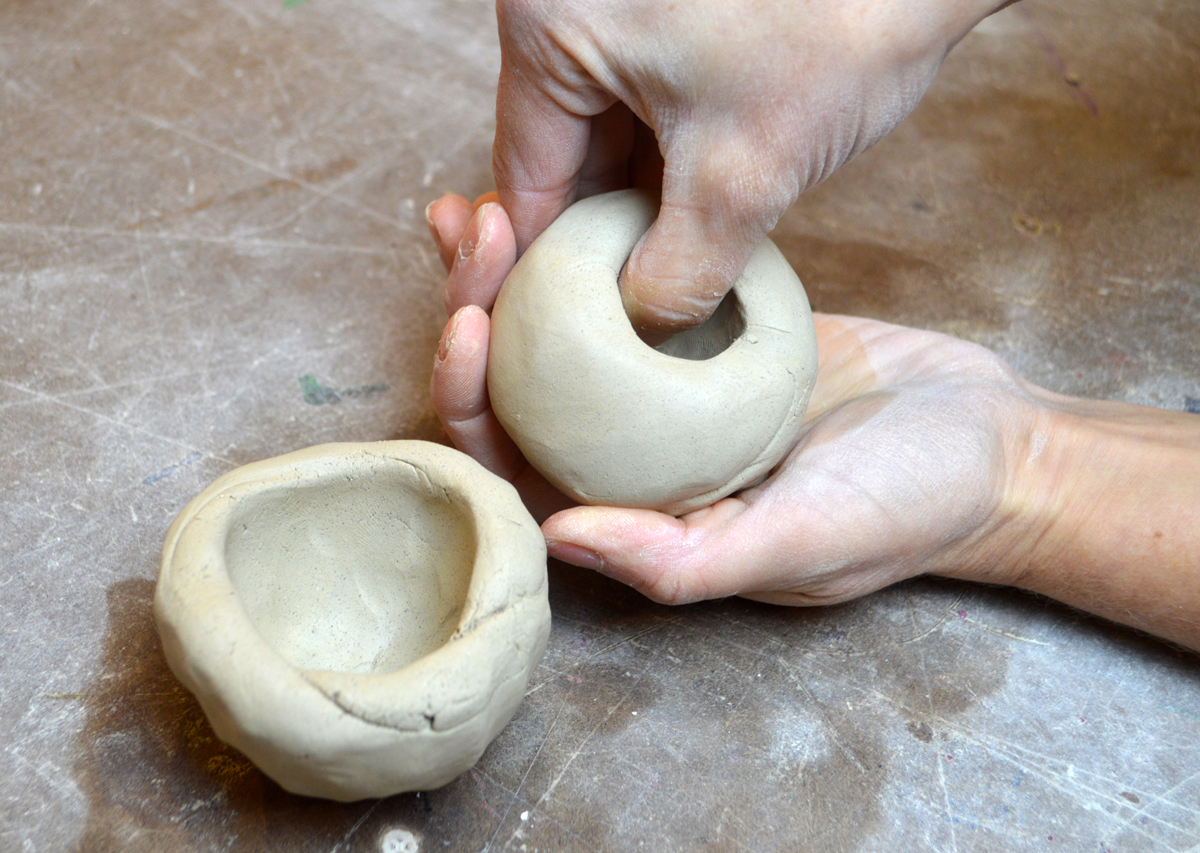
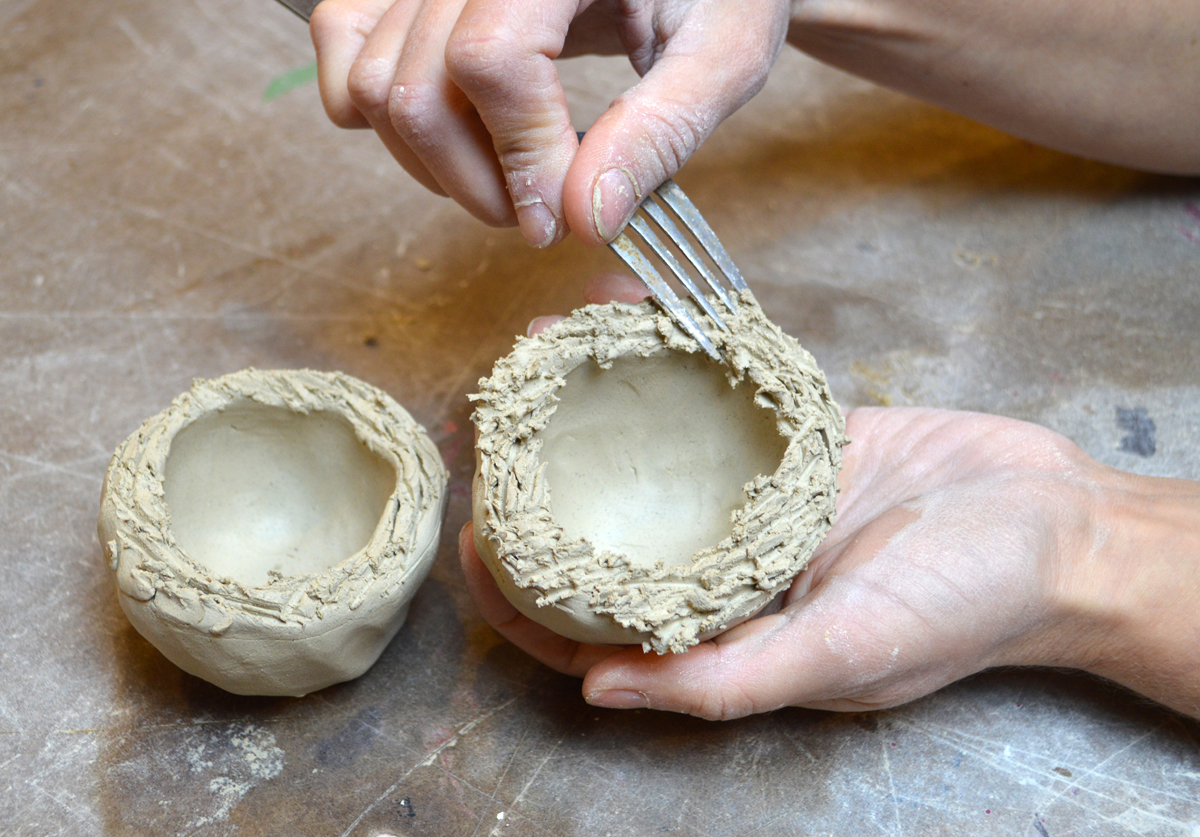
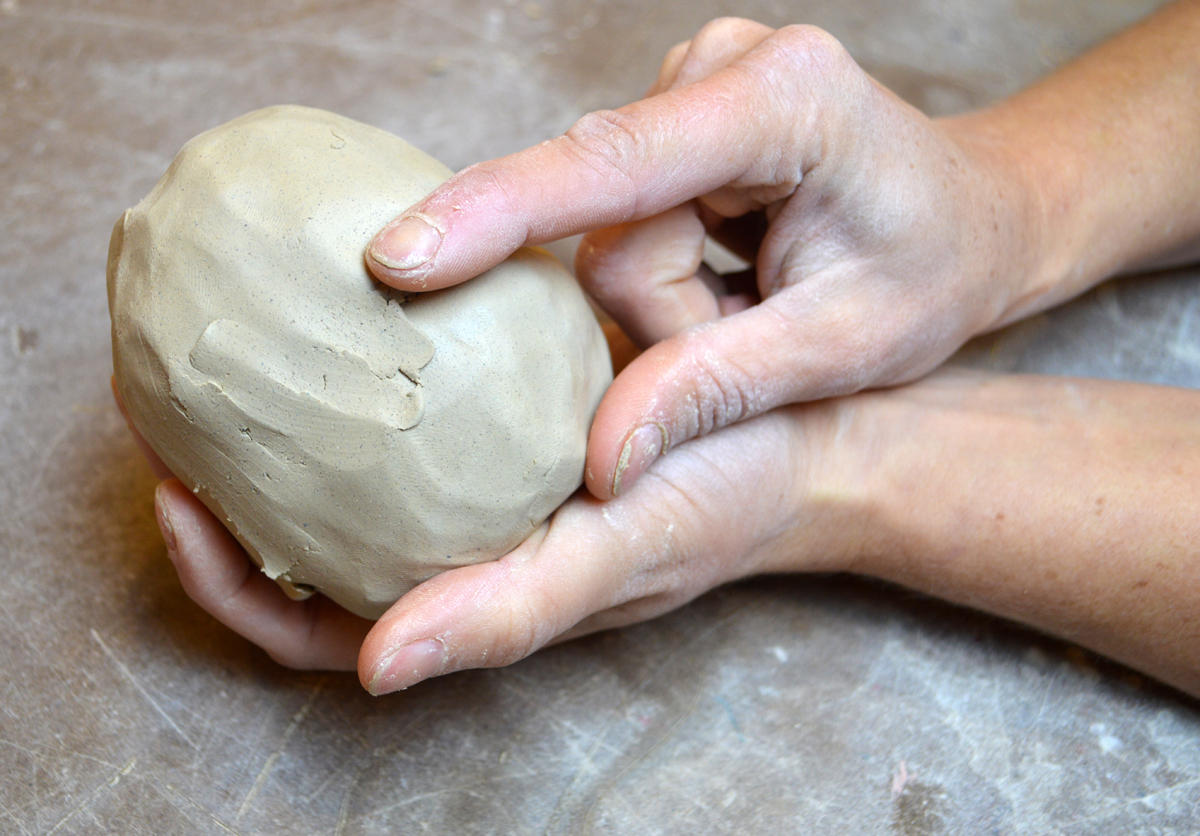
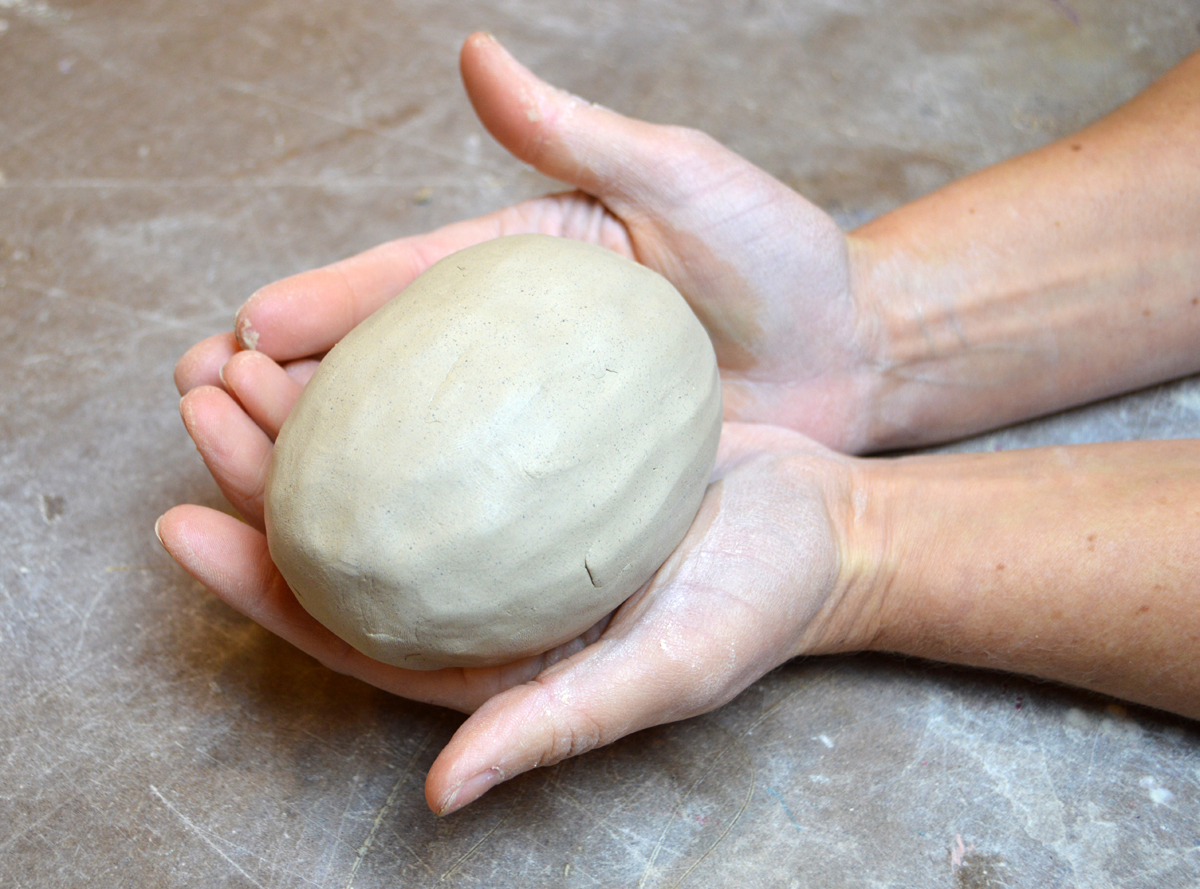
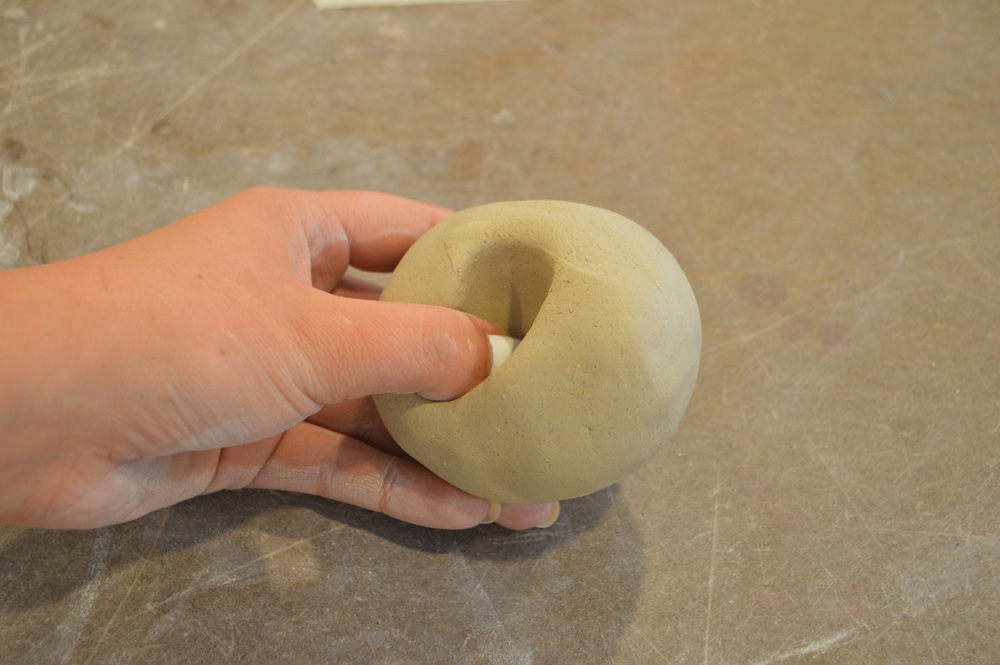
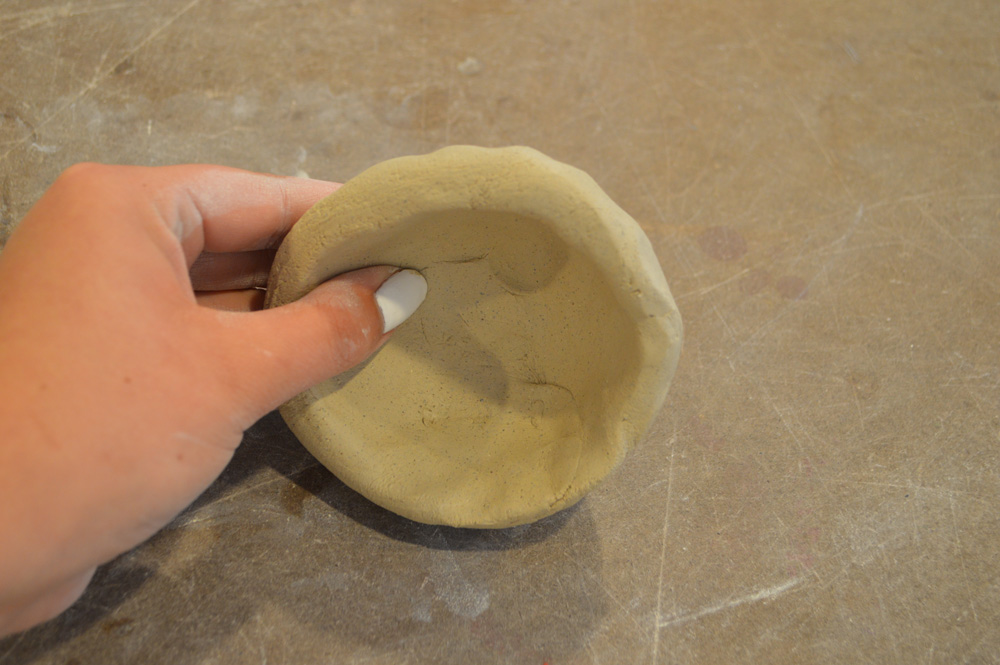
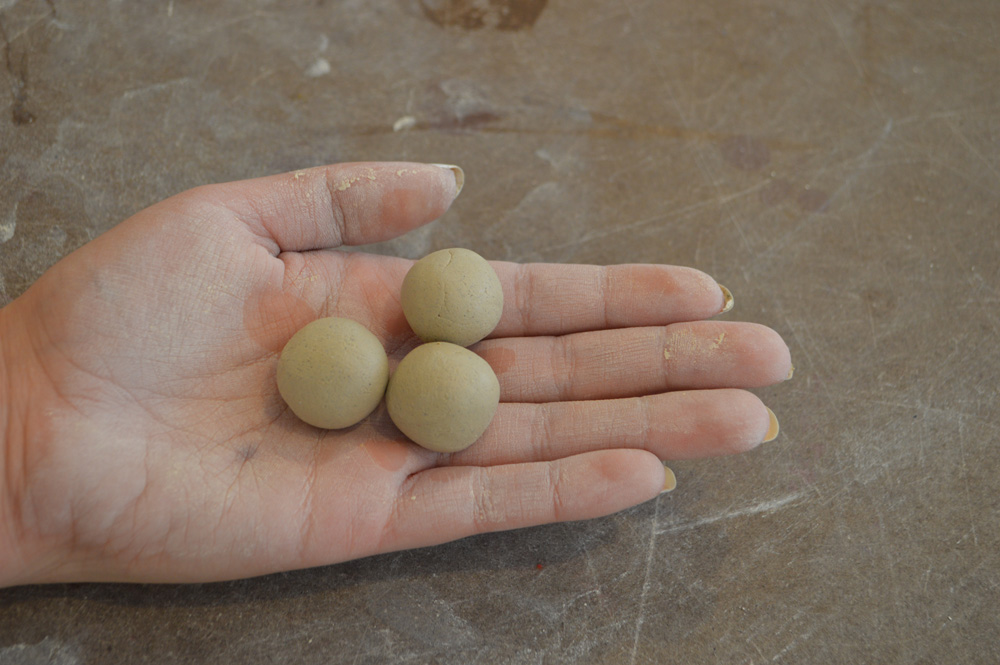
Here are the photos for making a Pinch Pot Monster. If you would like to see written instructions for this one and four more, please see Jenni Ward’s “Create with Clay 2” ebook.

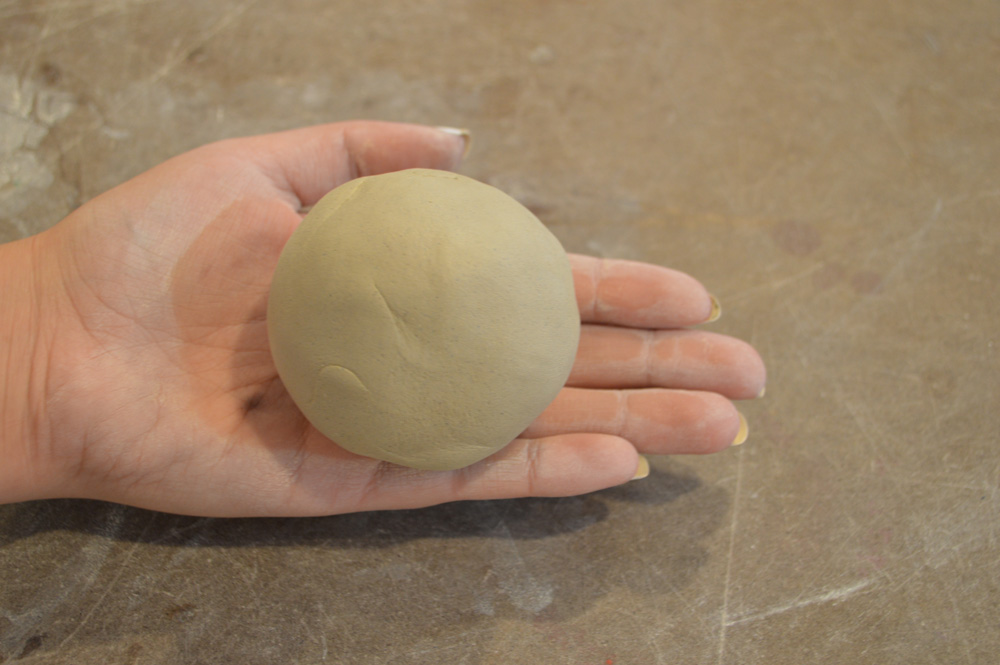

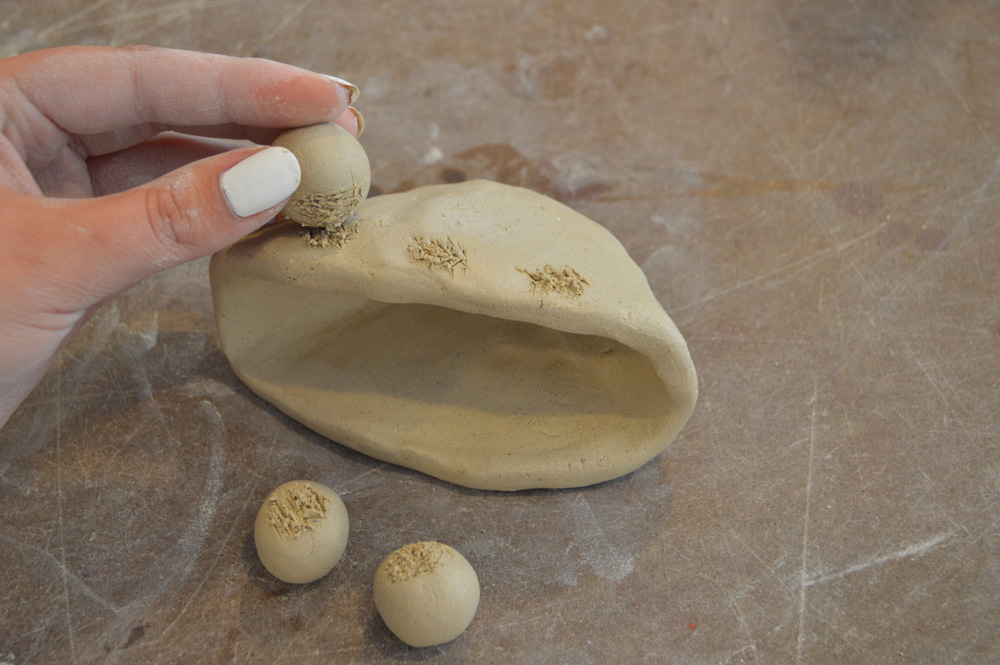
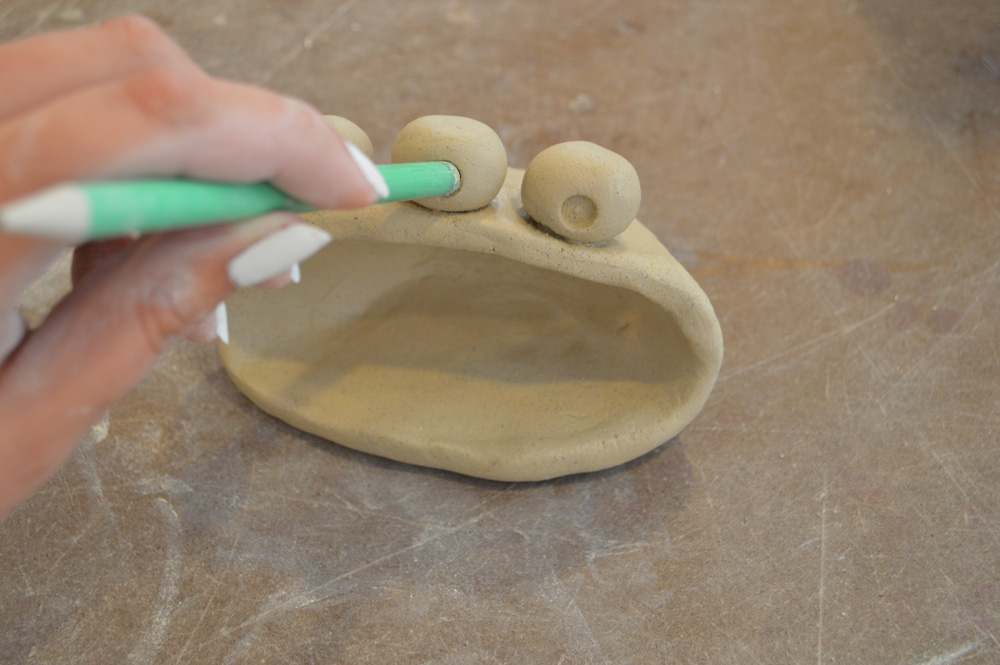
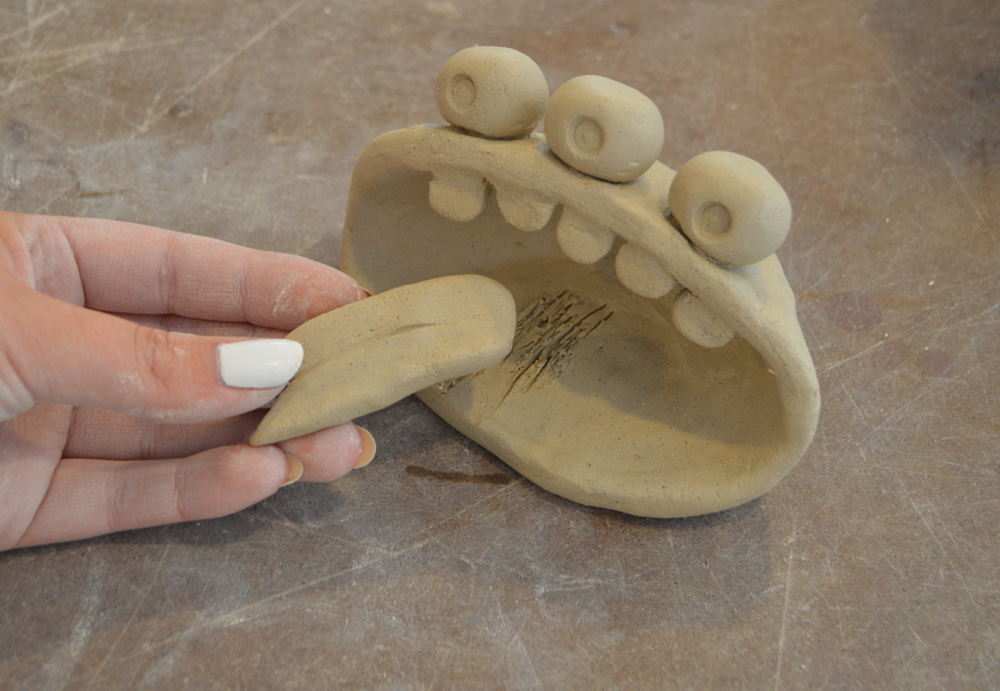
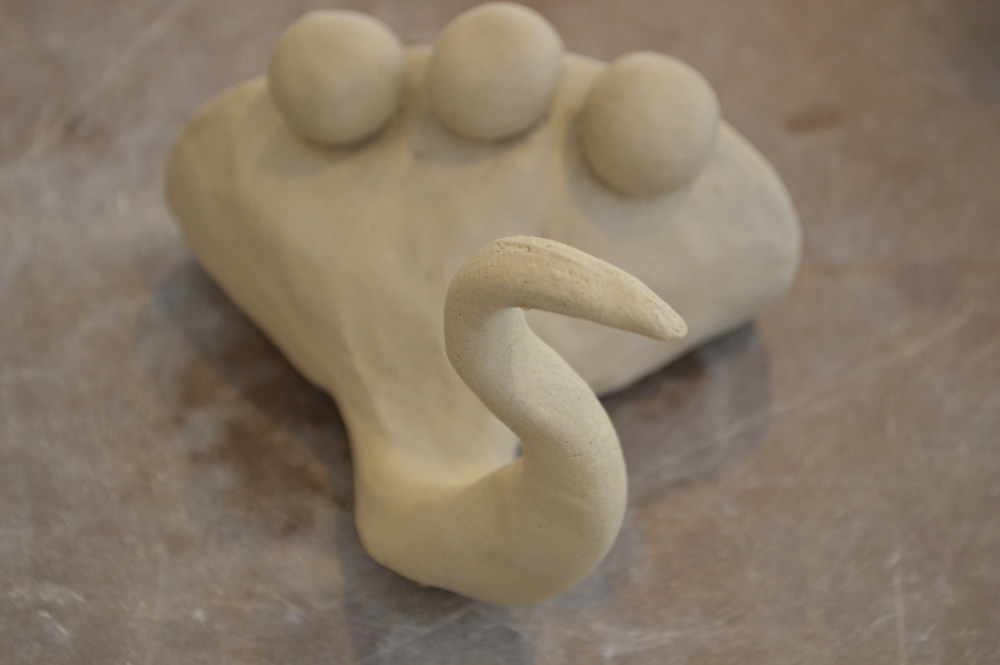

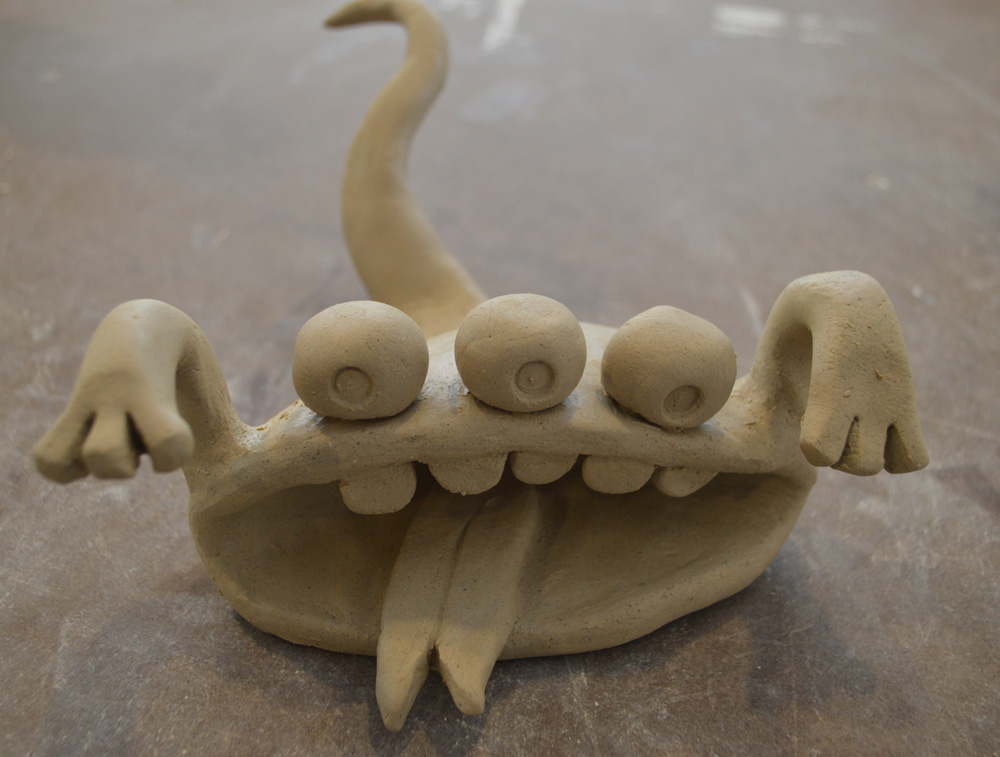

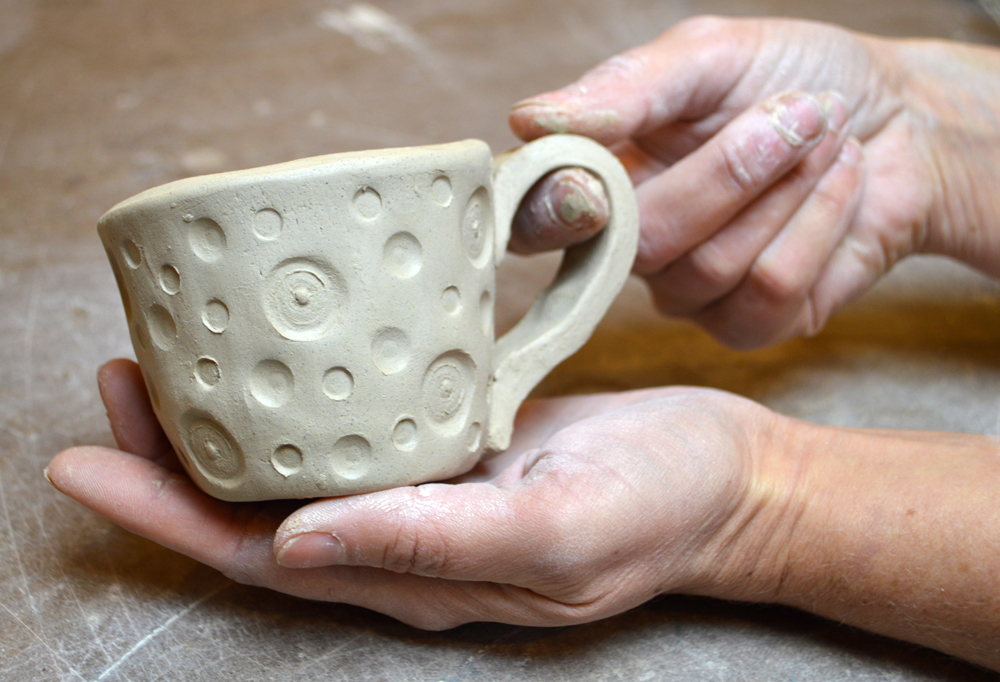
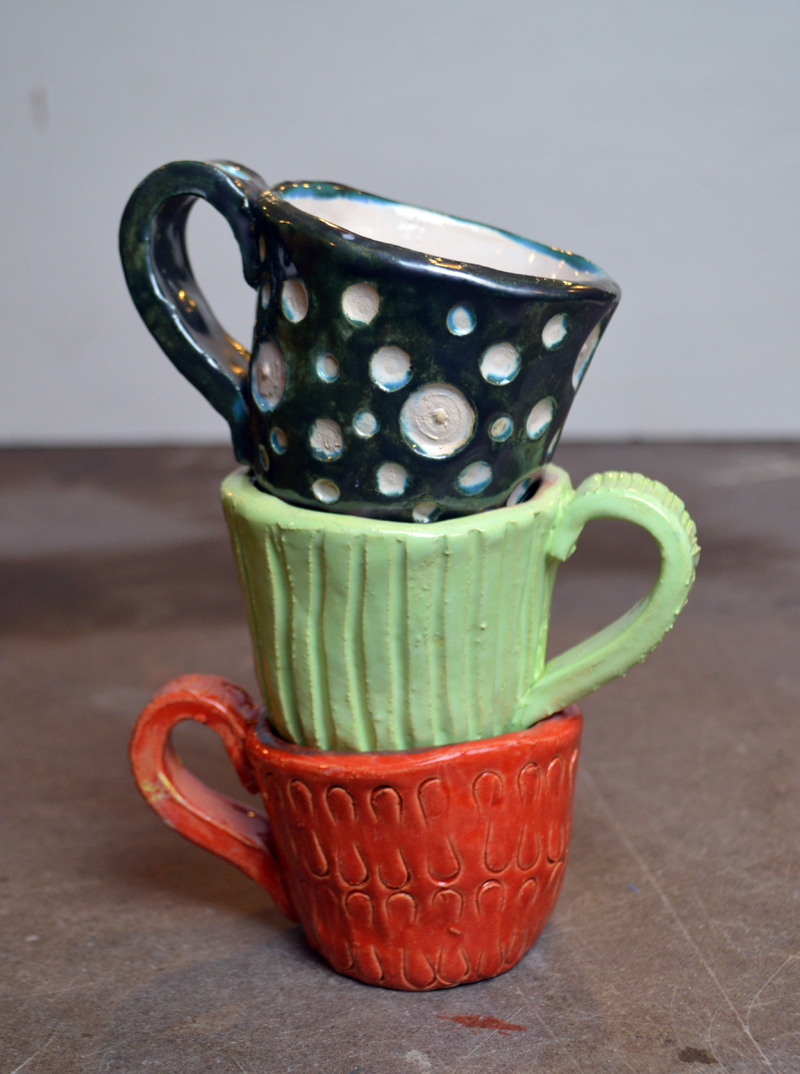
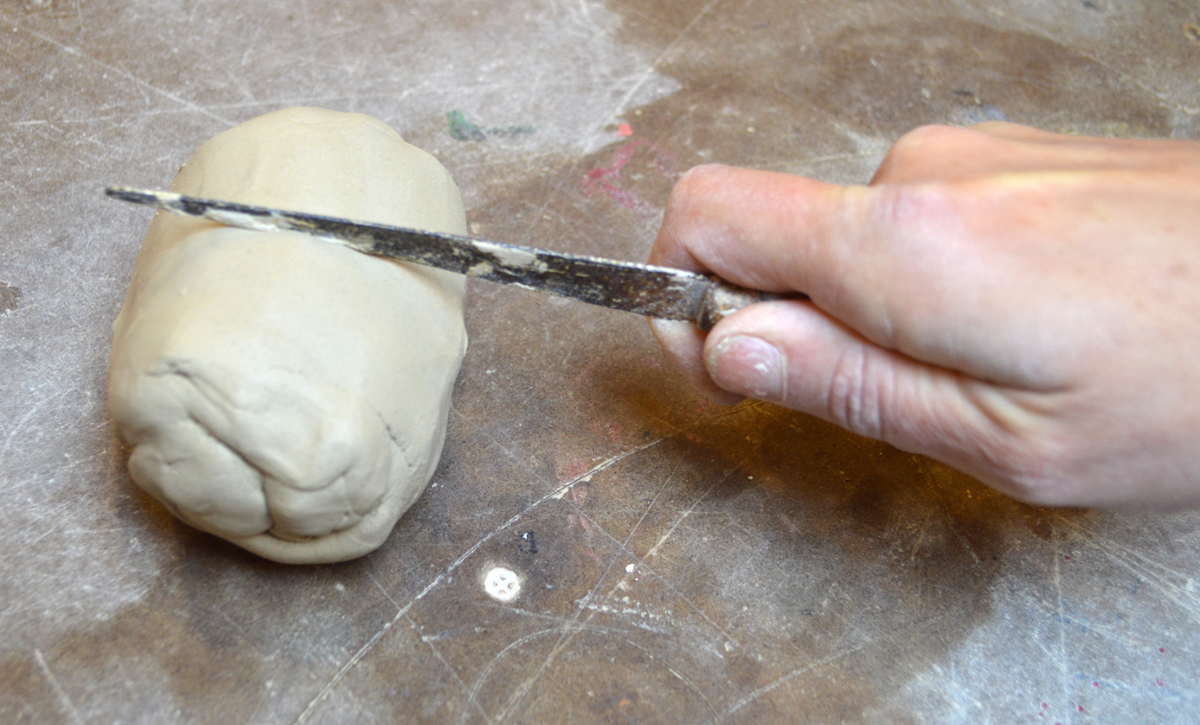
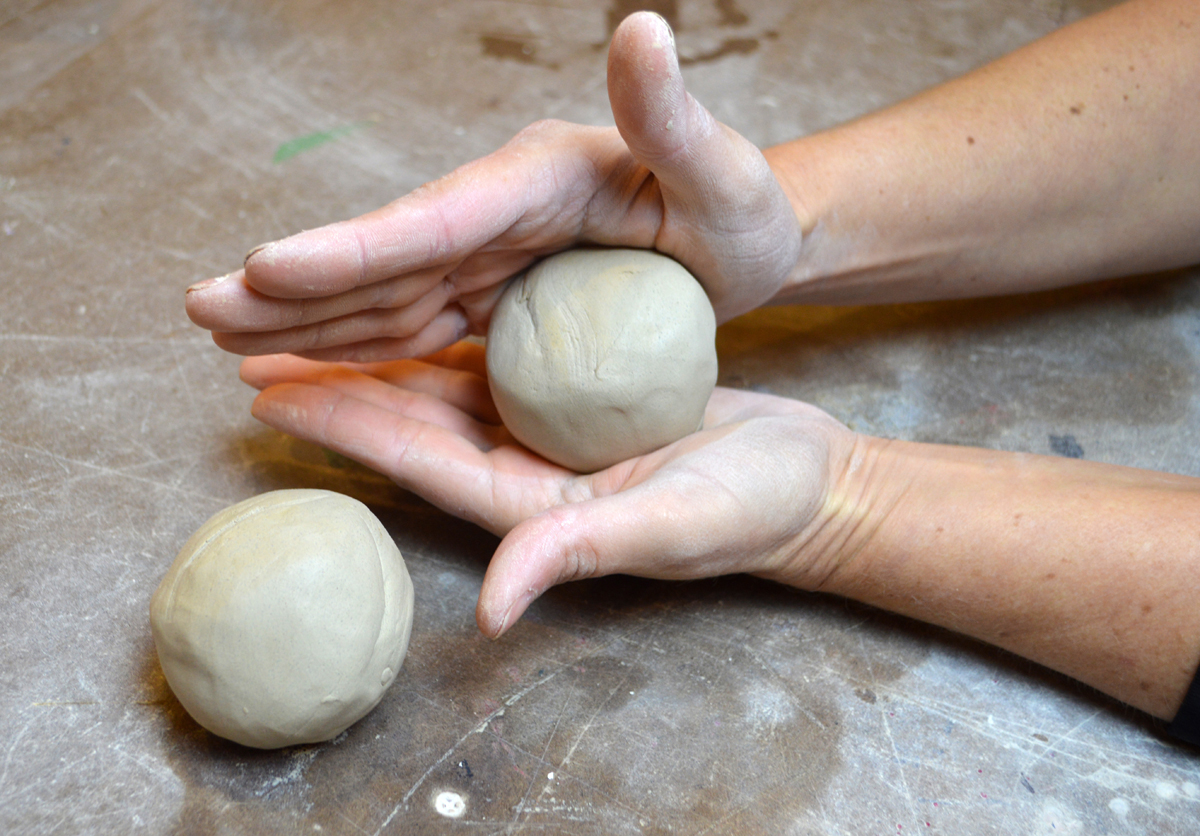
Here’s one of my favorite projects that is in my friend Jenni Ward’s new ebook, “Create with Clay 3″. When I think of all the possible variations you could try with these, it makes my head hurt, but in a totally good way. The book with detailed written instructions will be posted before the weekend is over.